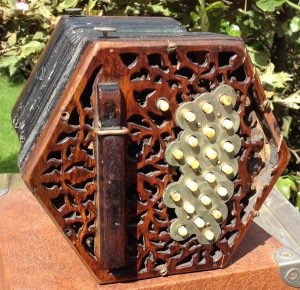
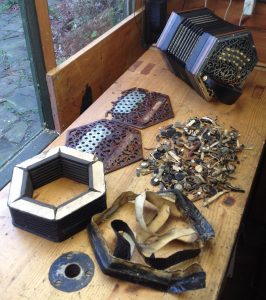
I recently fully-restored a 40-button Lachenal Anglo. It was in pretty poor condition when I received it. The wooden ends were non-original, damaged, and not very well made.
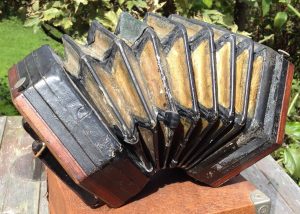
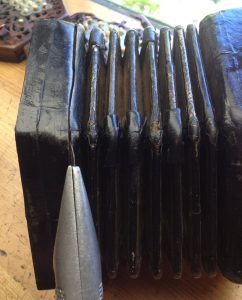
The bellows may have been original, but they were worn-out and patched.
There was significant damage to the woodwork, including a couple of split reed chamber walls.
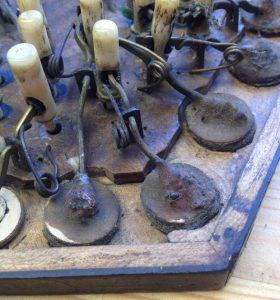
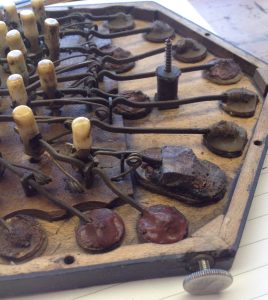
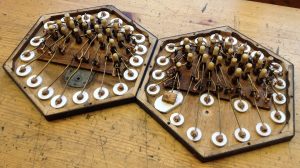
The pads were mostly dust held together with blobs of sealing wax, and the springs were mostly non-original and much too strong, probably in a vain attempt to make the knackered pads seal.
Step 1: remove the old bellows.
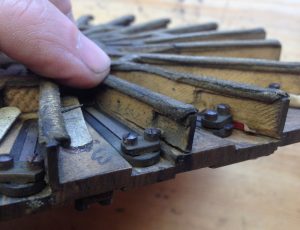
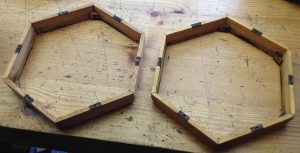
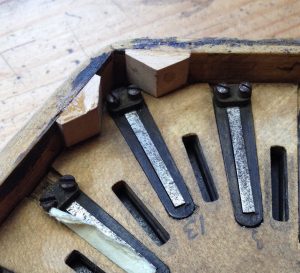
The bellows frames weren’t too bad underneath, apart from a few loose/missing corner blocks.
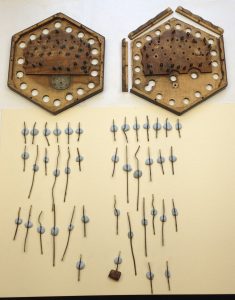
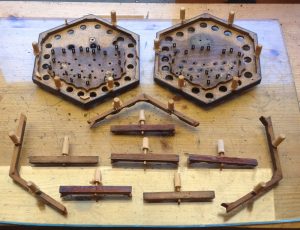
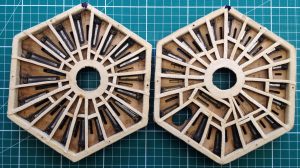
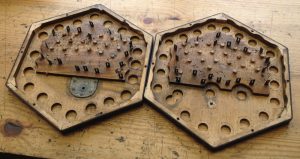
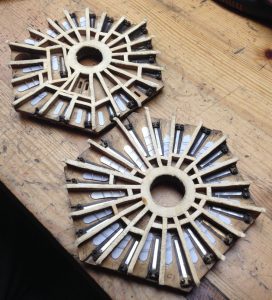
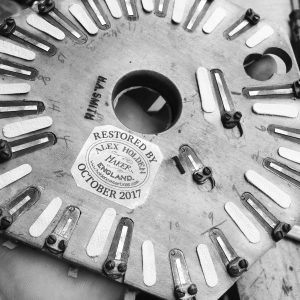
Next I dismantled the actions, laying the levers out on a piece of card so I could figure out which was which when it came time to reassemble the instrument. Quite a few of the action box walls had come apart at the glue joints, but the wood wasn’t too damaged.
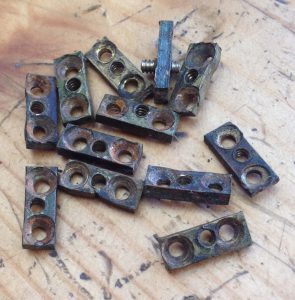
Most of the end bolts and corresponding nut plates were worn out, probably due to somebody over-tightening them in an attempt to make the instrument airtight (unsuccessfully, because the various boards had all warped).
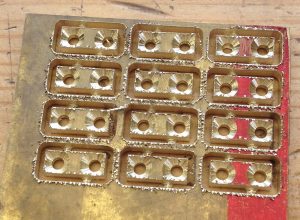
I already wrote an earlier blog post about making the new end bolts. I also made and fitted a new set of nut plates from thicker brass (3mm rather than 2mm), so they will hopefully be less prone to stripping in the future. The new wood screws are stainless steel and slightly longer than the originals. I plugged up the old screw holes with matchsticks before fitting the new screws.
The end bolt holes in the action box walls were worn oversized (particularly at the tops, where the screw heads had sunk through the end plates and worn a deep gouge), so I plugged them all with beech dowels.
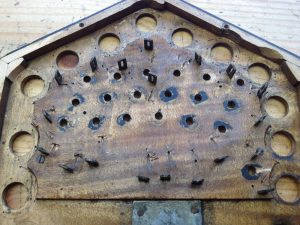
I glued the walls back together in a band clamp using hot hide glue. Unfortunately the top and bottom halves didn’t quite match up perfectly, which I later realised must be because they originally came from different instruments (they are a different wood, and the pad gouges on the inside of the top walls don’t marry up with the positions of the pads).
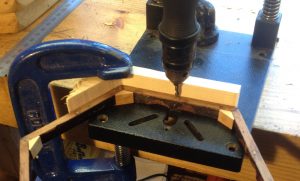
I used a simple jig to re-drill the end bolt holes a consistent distance from the outside of the instrument.
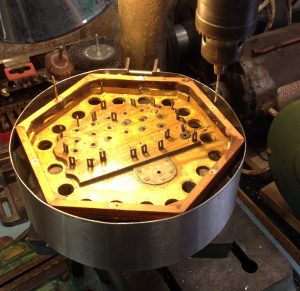
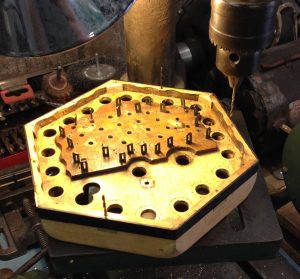
Then I clamped the bellows frame to the bottom half of the action box and drilled the tapping holes in the nut plates.
Once I’d got a couple of them drilled, I used spare drill bits to keep them aligned to each other while I drilled the other four.
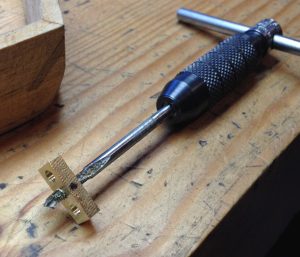
I took the plates off again to tap them, to avoid embedding a lot of greasy swarf inside the bellows frames for perpetuity.
As I mentioned previously, two of the reed chamber walls had split. I could have attempted to glue them back together but I doubt it would have held up for long, so I unglued them (hot water to soften the hide glue, and waggling until it suddenly came free like a loose tooth).
I glued new quartersawn sycamore walls in place, with hide glue again, using the reed as a wedge to hold it in place while the glue dried.
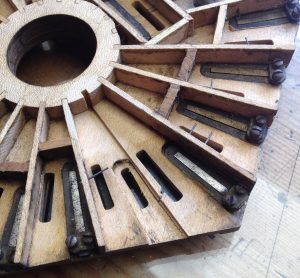
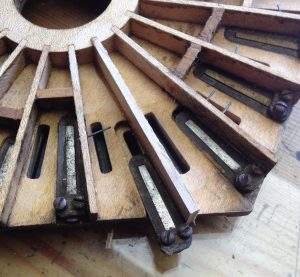
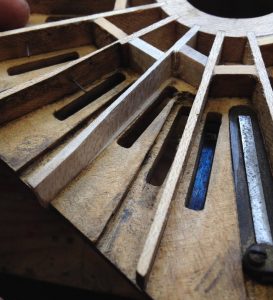
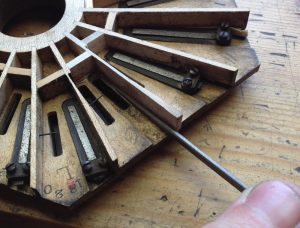
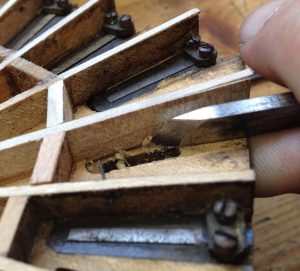
One reason why this wall was weak was that part of it needs to be cut away to make space for the valve in the next-door chamber. I thought it best to chisel this out in-situ.
I used a combination of needle file and skew chisel to undercut the new wall for the dovetailed reed slots.
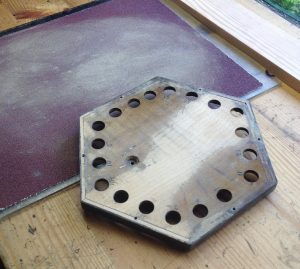
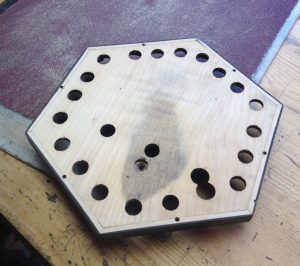
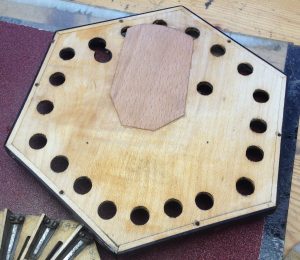
Both the action boards were badly warped, so they didn’t seal properly to the tops of the reed pan walls. I cured this by painstakingly lapping them using a sheet of sandpaper glued to glass. I don’t seem to have a picture of it, but I also inlaid a piece of sycamore to repair the deep gouge visible in this one where the sound post screw goes through it.
On the right hand reed pan, it was so hollow near the sound post screw hole that I decided to glue a piece of veneer to the area to build up the thickness before lapping most of it away. This incidentally also filled in the oversized gouge around the screw hole.
The reed pans were warped too, though sadly not in a way that matched the warping of the action boards, so I also had to lap the tops of the walls. To avoid removing too much depth from the chambers, I had to glue tapered shims to the tops of about half of the walls near the outer edge.
After getting the tops of the reed pans flat, I replaced all the support blocks in the bellows frames. This is far easier to do without the bellows in the way, hence why I did all the above work prior to making the new bellows.
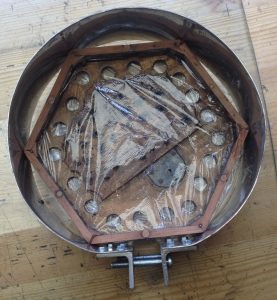
This shows why you sometimes find a block or two that isn’t right in the corner of the bellows frame.
The woodwork repairs done, I made and fitted new chamois leather gaskets. Not pictured, it was necessary to fit card shims to the inside of the bellows frames before the chamois to get the pans to fit tightly.
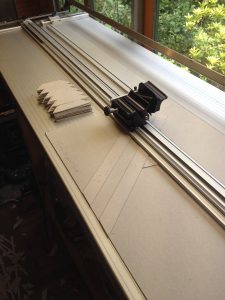
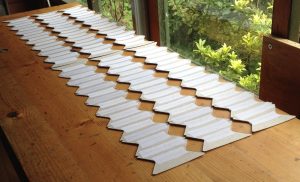
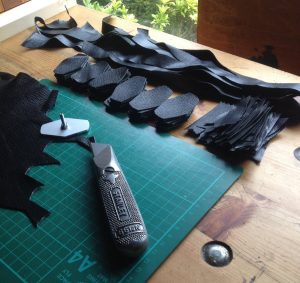
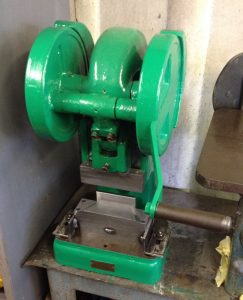
I have recently bought an old picture framing mat board cutter. This tool makes it much easier to cut the bellows card into strips, bevel the top edges at 45°, and with a simple jig, cut the strips into individual cards. Incidentally I switched from 1.5mm thick greyboard to 1mm thick millboard. It is a little more flexible but the reduced thickness really makes the bellows feel a lot less bulky. I think it’s a better quality material too, and likely to last longer.
After my experiment with self-adhesive hinge linen on the last set of bellows, I went back to Fraynot linen cut on the bias, attached with a bookbinders’ starch paste. The resulting hinges are thinner and much more supple.
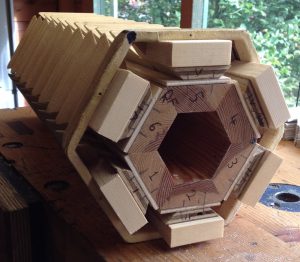
Because I originally made my bellows mould to fit a set of bellows that came off a 6″ instrument, and this was a 6 ¼” instrument, I had to pack them out a little using strips of thin plywood between the core and the forms.
This time I prepared all of the leather parts before starting to glue them on. I also refined the shape of the gussets a little, and skived most of the parts slightly thinner than on previous bellows.
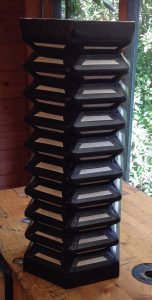
The bellows immediately after taking them off the mould! They are initially quite stiff and need to be broken in. In order to maximise their useful range, I spent the next few weeks while I was working on other parts of the restoration alternating between squeezing them fully closed in my bellows press and stretching them fully open using a couple of the forms from the bellows mould, exercising them a bit every time I handled them. I think this treatment along with other improvements really helped; the finished bellows are the most supple I have made to date.
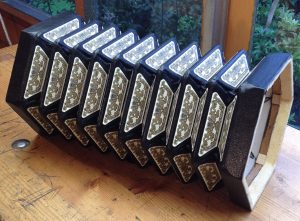
A set of reproduction Lachenal bellows papers really helped them to look the part.
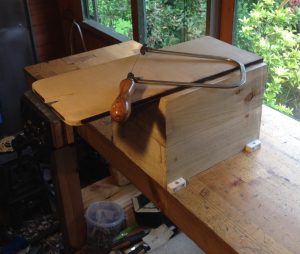
I recently bought a small Eclipse fretsaw frame that is the ideal size for concertina ends; much less tiring to use than a standard large fretsaw frame. I had to make new blade clamps because the old ones had stripped threads. I made the new clamps from scraps of tool steel and hardened them, so they ought to last pretty much forever now! I also made a new saw table with a nice big flat rigid top.
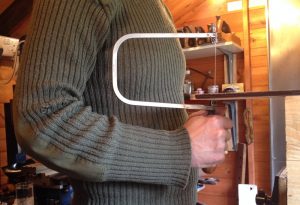
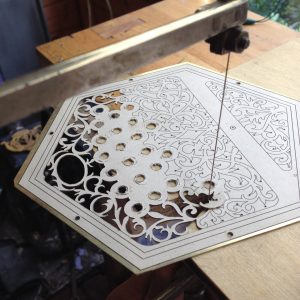
This shows why I made the top of the saw table so high; I prefer to do piercing standing up, and this height results in my arms being in the most comfortable position.
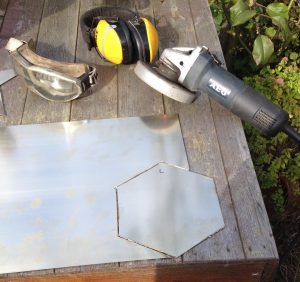
I cut the new ends from 22 S.W.G nickel silver (German silver) sheet, starting by roughly cutting them out oversize with a slitting blade in an angle grinder.
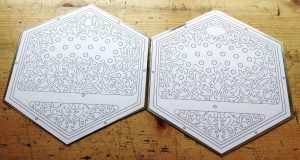
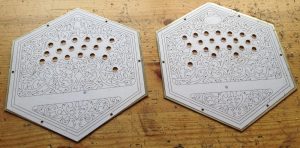
The fretwork design is based on photos I found online of a vintage Lachenal 40-button, but I redrew it and modified it a little (eliminating the redundant unused button holes on the opposite side from the thumb button on each side).
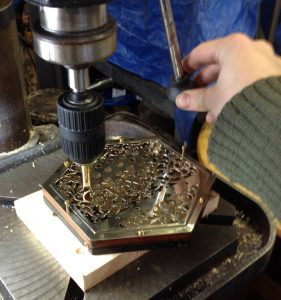
I drilled all the holes first. The bolt holes are actually transferred from the action box frames, not the template. I later realised the button holes should have been a bit larger to give more clearance around the buttons, so I had to enlarge them after I had cut all the fretwork.
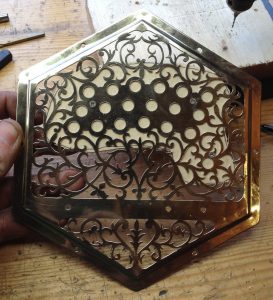
Piercing in progress. I actually find this one of my favourite parts of the job; my mind goes into a flow state, and when I emerge some hours later I have made a beautiful thing.
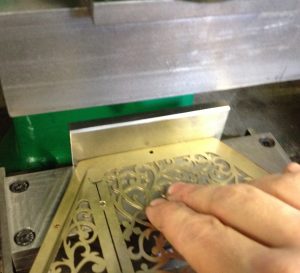
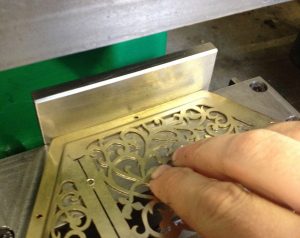
I’m going to skip over a few days of toolmaking here; I may come back later and write a separate post about it. I made a press tool modelled on the one used by the Crabb company, which crimps the edges of a metal end plate one side at a time.
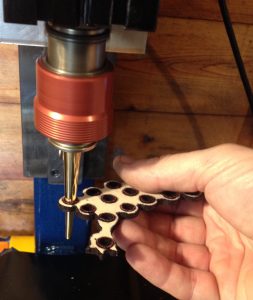
The side on the left has been crimped, the tool is about to press the side in the middle:
After pressing:
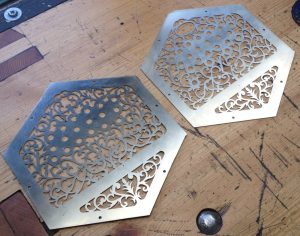
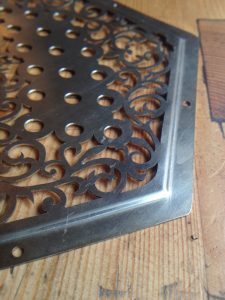
The end result. I found I had to do some manual cleanup work to neaten it where it hadn’t worked perfectly, particularly in places where the piercings were quite close to the border.
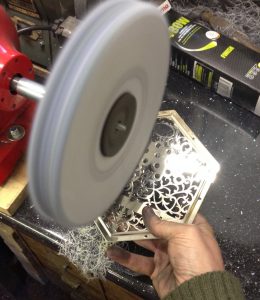
I polished the finished ends using my Bridek polishing spindle and various Menzerna compounds.
The button peg holes in the action boards were both worn oversize, and probably no longer exactly aligned with the button holes in the new ends, so I decided to plug them all with beech dowels and re-drill them.
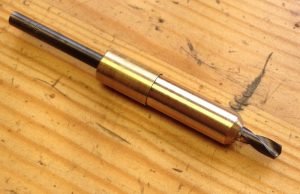
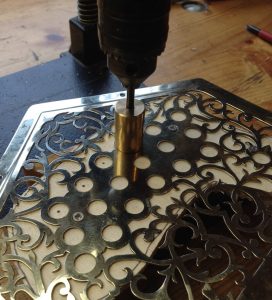
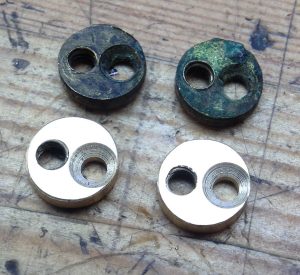
I made this tool to drill the button peg holes; the brass bush is the right size to slide in the button hole and guide the drill bit to the right location in the action board. I used the depth stop on my drilling machine to make sure I didn’t quite drill all the way through the board.
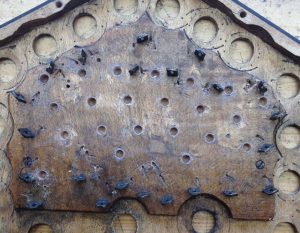
You can see in this one that the new holes are sometimes slightly off from where the old ones were; if I hadn’t re-drilled them, the buttons wouldn’t have lined up right, which would probably have caused them to stick.
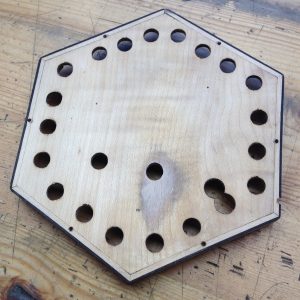
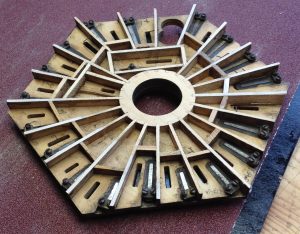
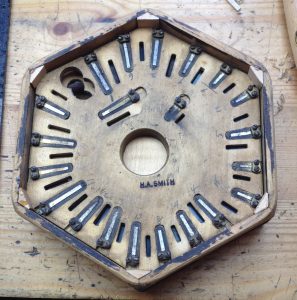
In order to bush the button holes, I needed to screw a piece of plywood to the underside of the end plate so I could glue the bushes into that rather than trying to glue them directly to the thin metal. (I later cut the board to match the fretwork.)
A different special tool used to accurately locate the pilot holes in the bushing board.
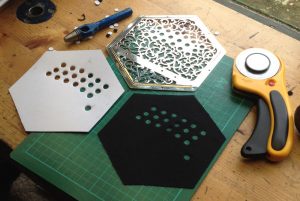
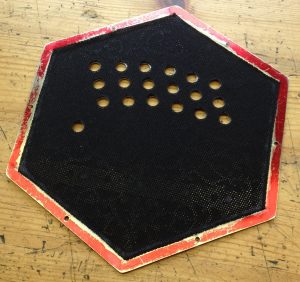
I fitted loudspeaker grille cloth below the fretwork. It proved a bit tricky to get the button holes in the right places; I settled on making a card template, then placing the template over the fabric, cutting around it with a rotary cutter, and punching the holes through the card and fabric both.
I glued the fabric to the underside of the metal with PVA (rather a fiddly job to avoid baggy areas or holes not lining up). One side-effect of this was that the acidic fumes given off by the glue oxidised the polished surface of the metal, and of course I couldn’t just take them back to the polishing machine because it would probably damage the cloth. I managed to clean it off with dry jewellery polishing pads but it was a bit annoying. Perhaps epoxy would be a better choice.
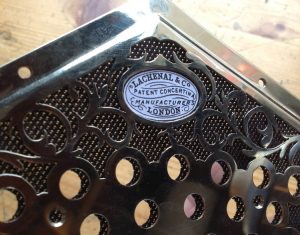
I laser-printed a replacement maker’s logo on archival paper and stuck it on with PVA.
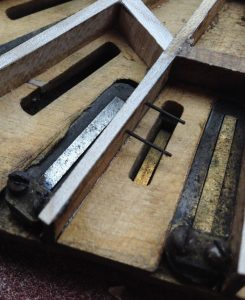
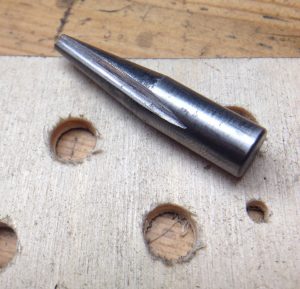
This is a taper reamer I made from silver steel to slightly taper the holes in the bushing boards. By making the holes looser at the bottom than the top, they are better able to cope with any slight misalignment than if the sides of the holes were parallel.
Similarly, I made a new bushing reamer that is continuously tapered, thus making the bushes looser at the bottom. You can also see in this picture that I cut the boards closely to the outline of the fretwork and coloured the edges black so you can’t see them under the grille cloth.
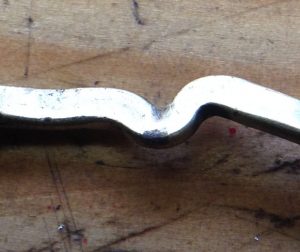
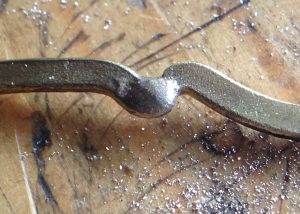
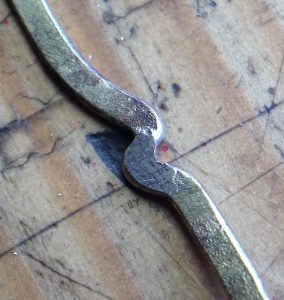
Lachenal action levers sometimes wear in a way that causes them to twist as they pivot, causing uneven movement and pads not seating properly. The way I fix this is by building up silver (hard) solder on the worn area of the lever, then filing it back until it fits well again. Usually the post isn’t badly worn enough to need the same treatment. I had to do this repair to about half a dozen of the levers on this instrument.
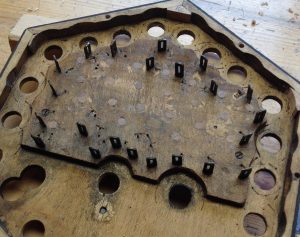
Cleaned and rebuilt actions, with new springs, bushes, dampers, pads, etc.:
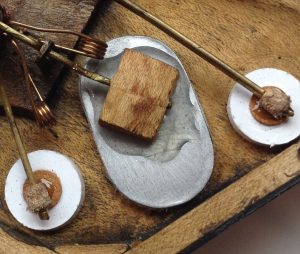
My first attempt at the elongated air hole pad was to cut it from the same leather/felt/card sandwich as the ordinary pads. It sort of sealed, but would leak when you pressed the bellows hard. I worked out that it was because the card was too flexible; the ends of the pad were flexing up and letting air leak out. I fixed this problem by making a special pad with a top layer made from thin stainless steel sheet instead of card.
Skipping over a bunch of toolmaking again; I made a set of dies to punch my own valves to a consistent range of sizes. I also got hold of some special thicker (very expensive) leather that is better-suited for the largest valves. I made the new valve restraint pins from 24 S.W.G. stainless steel spring wire. I have switched to using gum arabic to glue the valves to the reed pans; it is plenty strong enough when dry, easy to use and non-messy, and very easily removed with a little warm water on a cotton bud when you need to replace a problematic valve. I lightly cleaned all the reeds, and where necessary shimmed the slots in the reed pan to get the reeds to fit snugly.
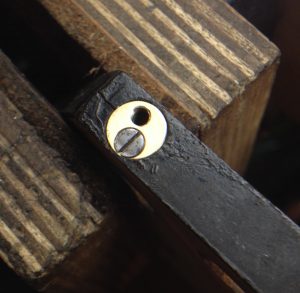
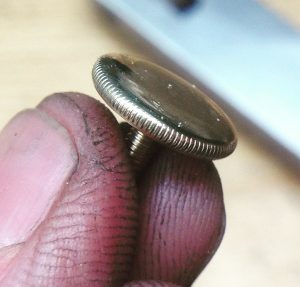
The strap-adjuster thumb screws were the wrong ones for the instrument; the thread didn’t fit the captive nuts. To cut a long story short, I decided to make all new nuts and screws with an M3 thread.
Luckily I was able to reuse the tiny wood screws; finding replacements for them might have been tricky.
I’m quite proud of these thumb screws; it may seem like a trivial detail but the first ones I made were pretty bad in comparison, and I really think I have got the hang of them now. If you dig back through my Instagram page, somewhere in there is a post describing my process.
There’s quite a bit going on in these next two pictures. Firstly, notice the bottom half of the wall is ebony (original to this instrument), the middle section is mahogany (probably came from a different vintage instrument), and then there’s what appears to be another ebony section between the mahogany and the metal plate. I needed to add the second black section as a spacer to make the boxes a bit deeper, because the action levers were hitting the bushing boards. It is made from a manufactured ebony substitute called Rocklite Ebano. Although I needed to do this for mechanical reasons, I actually think the three-layer effect looks quite unique and attractive.
Secondly, I sanded and lightly French-polished the woodwork. I deliberately didn’t go overboard building up a high gloss, and I tried not to remove too much of the old patina in the process.
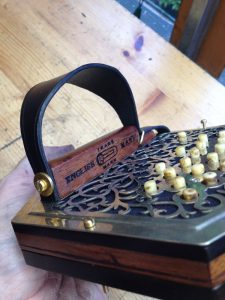
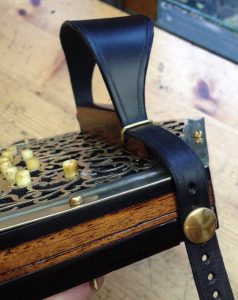
Thirdly, I made new brass strap rings (the loop thing that holds the strap down to the thumb rest), replaced the captive nuts in the ends of the handles with M3 ones, and made domed brass washers to hold the fixed end of the straps.
Fourthly, I made new leather hand straps. I don’t think I’ve quite got the pattern perfect yet (the ‘tails’ are about an inch too long), but I have figured out how to round and smooth the edges using an edge beveler and a burnishing spindle so they feel more comfortable on the hands.
When I received the instrument it was in C#/G#, old philharmonic pitch, which is about half a semitone higher than modern concert pitch. In consultation with the client, we decided I would re-tune it up to D/A concert pitch. Actually, I later realised that it may have originally started out as D/A old pitch and been tuned down to C#/G#, because the note stamps on the frames made more sense if that was the case. Most of the reed tongues were steel but there were a handful of brass ones in there too; you have to be very gentle with them as a tiny amount of filing can cause a big shift in the pitch, much more so than with steel ones.
The highest reed on the instrument was missing. I worked out from button charts that it was supposed to be a very high F#. I made a replacement, making an educated guess as to the length of the vent. It was so small that I didn’t have an end mill that could cut the vent slot so I did it by hand with a jeweller’s saw and tiny files (not as difficult as it sounds, though a little time-consuming to get it perfect). After experimenting with the profiling for a while, I managed to get it sounding remarkably well on the tuning bellows. Unfortunately once in the instrument, this reed, along with the other three or four highest notes, were pretty unresponsive, needing quite a high bellows pressure to get them to start. After quite a long time spent experimenting with them, I came to the conclusion that the problems mostly came down to the reed chambers being too large.
The worst one would barely speak at all (the one on the bottom side of this chamber; it is quite a lot higher in pitch than the corresponding top-side reed). I managed to significantly improve it by replacing the end wall with one closer to the vent slot so as to reduce the chamber volume.
My highest reed was in an inboard chamber. I managed to improve its response by making a little removable block that significantly reduces the dead volume in the chamber.
The finishing touch was to add my mark to one of the reed pans.
I had one or two bits left over after I finished putting it back together!
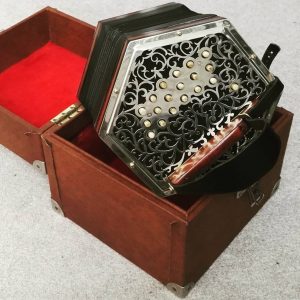
The finished instrument (photo courtesy of the instrument’s owner, Wallace Calvert). I am particularly proud of how nicely the new end plates turned out.
And now for a special treat, here is a clip of Wallace playing The Humours of Tullycrine on the instrument:

Fab job, Alex!
Thanks Henrik!
What a thorough and competent job, Alex! Well done…
Thanks Chris!
Thank you for this account of the restoration process, which I very much enjoyed reading. I shall now return to my own workshop with renewed enthusiasm, as well as a determination to follow your example to get things right—no compromises should be countenanced!
(By the way, I know nothing about concertinas, but I recently attempted (and failed) to bring a 19thc. player-piano back into working order, so I understand some of your problems with leather, glue, metal and wood.)
Thanks Illtyd!