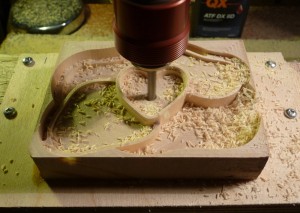
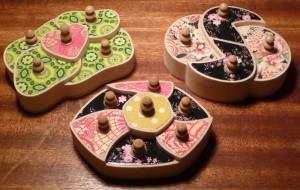
It has become a tradition for me to make several Christmas presents each year using whatever tools/skills I have picked up most recently. This year my latest tool acquisition is the CNC milling machine, so I decided to do a project that would show off some of what it can do, as well as giving me some useful experience in programming it. A friend suggested trinket boxes. After considering various possible construction methods, I settled on milling them from blocks of limewood with thin plywood bases and lids.
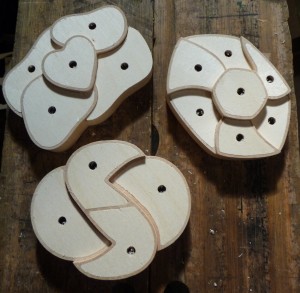
I needed to make presents for three people. The nature of one-off CNC manufacture is such that most of your time is spent at the CAD/CAM stage, because you have to plan every detail in advance and figure out how to tell the machine what to do (being careful to avoid anything that is physically impossible, for example asking it to cut a 3mm wide slot when your smallest cutter is 3.175mm in diameter). It would have been easy to design one box and produce three exact copies, but where would be the fun in that? I instead decided to do three different designs. I learned new things from each one and I feel the third design is the best, so it wasn’t a wasted effort.
The CAM workflow was basically the same as with the maker’s mark stamp except the designs and machining operations were far more complicated. An additional step was deriving the profiles of the lids from the shapes of the rebates they sit in; this was complicated slightly by the fact that I needed to round off all the points because the internal corners of the rebates can’t be any sharper than the diameter of the router bit.
The milling operations themselves mostly went OK. I suffered one stepper motor stall while milling the first box, but I heard it happen and managed to hit the e-stop in the nick of time before it did any noticeable damage.
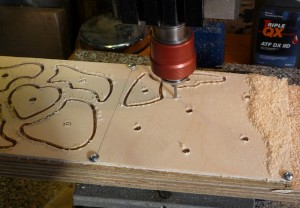
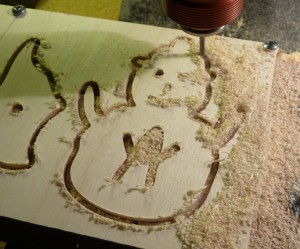
I made one design mistake: one of the lids was cut to the wrong outline (you can see it in the next photo). I didn’t spot it at the simulation stage because it was approximately the right shape for the compartment, just slightly too big.
When I cut the replacement lid I took the opportunity to make a little Christmas tree decoration at the same time:
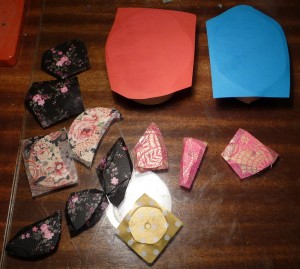
The boxes looked pretty plain with ordinary birch plywood lids, so I bought a selection of patterned decoupage paper on eBay and pasted various combinations to the lids. I also pasted plain coloured paper to the bottoms.
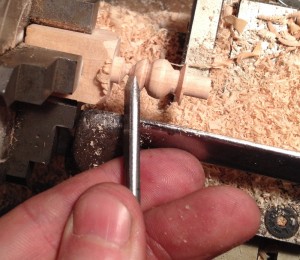
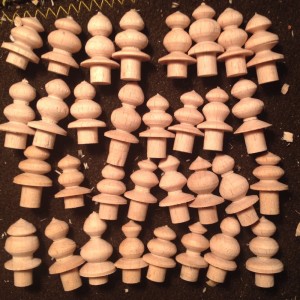
I turned the knobs by hand from beech. Because there was quite a bit of variation I made more than I needed and picked out sets that went well together.
Here are all three finished boxes after lacquering:
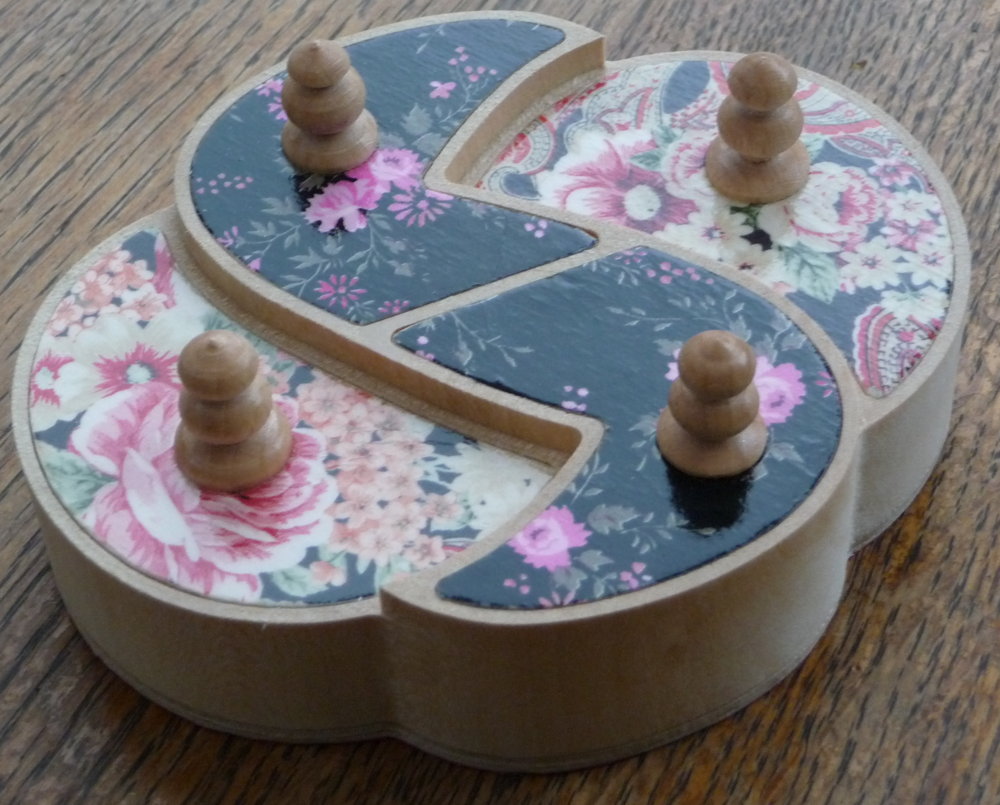
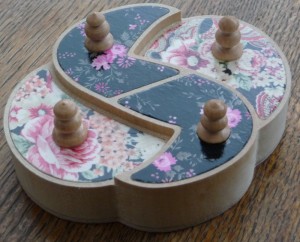
The ‘S’ box is my favourite (made for my mum, Sandra):
I came up with the basis for the design while playing around with mathematical knots. It is based on the 8 18 knot.
Incidentally I now have an Instagram account and I’m using it to post pictures of things I’m working on.
