Apologies for not posting more frequently to the blog. I am currently working on No. 2 and hope to complete it in the next month, but to tide you over here are some pictures from another complete restoration I did at the start of this year. If you would like more timely and frequent updates on my progress, feel free to follow me on Instagram.
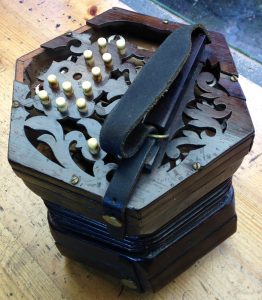
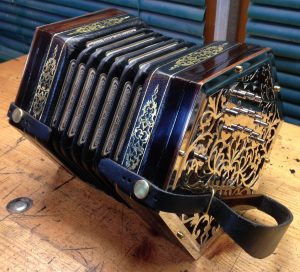
This instrument is an unbranded 26 button Anglo. From comparison to other similar instruments, my client and I believe it was probably made by the Crabb company, and it looks almost identical to some early Jeffries branded instruments (except for the missing Jeffries stamp on the frames).
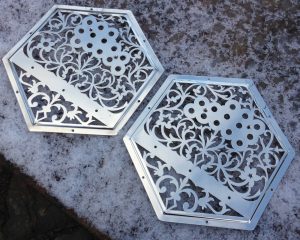
The original end plates were solid rosewood with a fairly simple fretwork pattern. Unfortunately they had cracked badly and large pieces were missing. My client had seen the earlier blog post about the new metal ends I made for the 40 button Lachenal, and asked me to do a similar job on his instrument, albeit with a Jeffries-style pattern.
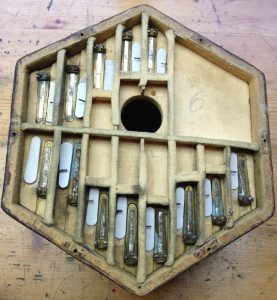
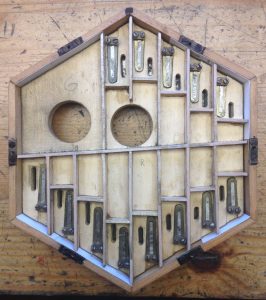
The reeds were quite well made, though they had suffered a little from rust and previous inexpert attempts at tuning. The chamois gaskets were doing a very poor job of preventing leaks, mainly due to various parts of the casework having warped.
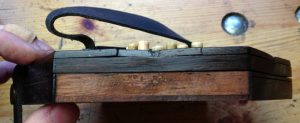
The action box sides had thick brazilian rosewood veneers, several of which had come unglued, one of which was missing.
The instrument had a moth infestation, which had eaten any of the wool parts (particularly the pads), and seemed to have had a go at the bellows too. It was still active too: I found a live larvae hiding at the bottom of one of the button peg holes!
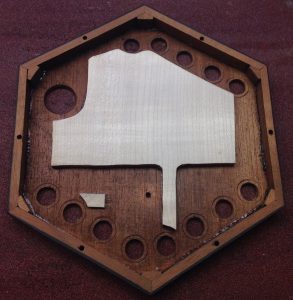
One of the action platforms had warped so badly that it had mostly come unglued from the pad board, which had a couple of big cracks in it. It was so bad that I decided to remake the platform.
The two extra bits of wood in the bottom half of the picture are there to reinforce the cracks in the action board (I glued it back together but wanted to add a bit of extra strength).
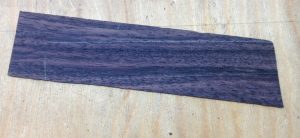
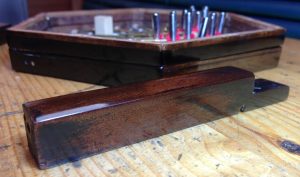
I replaced the missing bit of veneer with a piece of Indian rosewood. Not quite the same colour as the original, but it didn’t stand out too badly after I had refinished the instrument with garnet shellac. I had to use two layers because modern commercial veneer is unfortunately much thinner than the stuff used by Victorian makers.
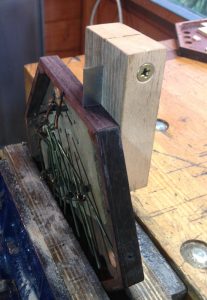
I made a scratch stock to replicate the decorative groove:
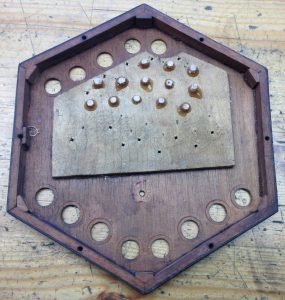
Action boxes cleaned up, all traces of the moths removed, loose joints reglued, and the original worn button peg holes plugged for later redrilling.
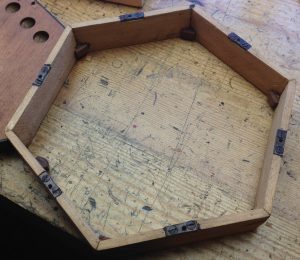
The nut plates in the bellows frames were really crudely installed, mostly very wonky and sitting proud of the surface. This later caused me a bunch of problems with getting the gaskets to seal properly.
Replacing the reed pan corner support blocks.
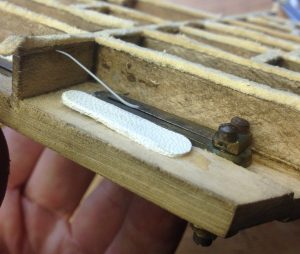
I used card shims under the bellows frame gaskets to get a reasonably even fit.
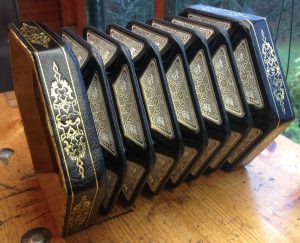
The bellows were pretty worn out and only five folds, so I made a new set of six-fold bellows with Jeffries papers and gold tooling. I’m not going to go into detail about these here because I spent a lot of time working on the gold tooling process and haven’t yet managed to get totally consistent results. I plan to work more on this and come back to it in the future.
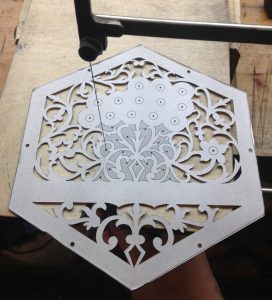
I cut the end plates by hand in the traditional way. The pattern is based on a Jeffries design, but I had to redraw and modify it a bit to shift the keyboards further up and fill in the space left by removing a couple of buttons on each side.
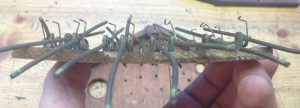
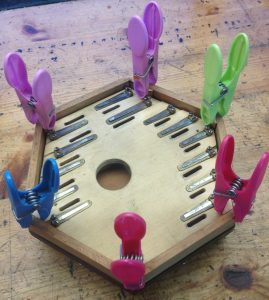
A little method I thought up (probably not original) to put a valve restraint pin in a chamber that doesn’t have a side wall next to the valve.
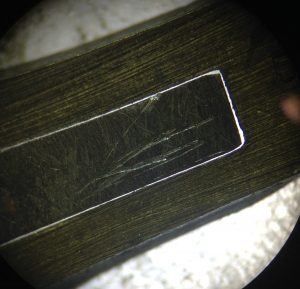
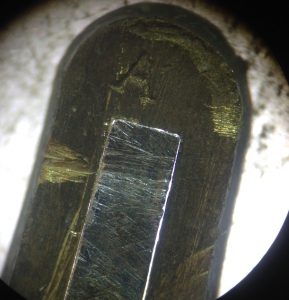
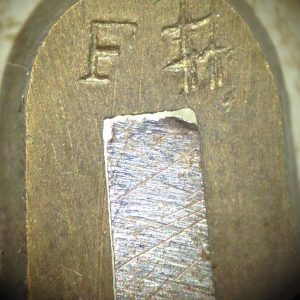
Unfortunately several of the reeds had suffered a bit of damage from earlier tuning attempts – here are three of the worst examples. The moral is, don’t use a scratch tool or a coarse file for fine tuning (I recommend a 600 grit flat diamond needle file), make sure you use a steel shim under the tongue to support it and protect the brass frame from the file, and be very careful with the delicate thin tips of the higher reeds.
I refinished the casework with garnet shellac. I was pretty happy with the shine I got from the French Polishing process – I’m getting better at it with each instrument I do.
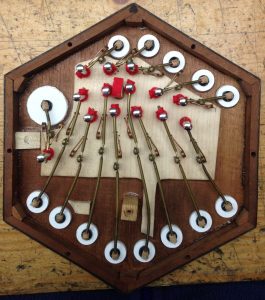
Rebuilt actions with new pads, springs, etc. I also replaced the bone buttons with solid stainless steel ones (not made by me).
The finished instrument after final polishing, etc. It sounded pretty good too!


Well done Alex. I appreciate your workmanship. I know their are not many of your kind around the globe. Best regards Gys.
Thanks Gys!
This is most impressive, Alex! I love to follow your diary entries from time to time as they’re always appealing to me. I guess you had to replace some of the worst reeds here, hadn’t you?
Best wishes – Wolf
Thanks Wolf, I think on this one I was able to get all the reeds playing adequately without replacing any of them. I have had to make replacement reed tongues on other restoration jobs; the Jones I’m working on right now had a couple of cracked reeds.