Alex

Chief cook and bottle washer.

Manual Mill

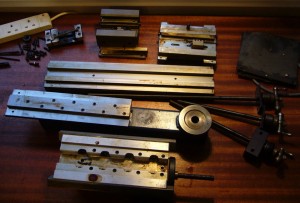
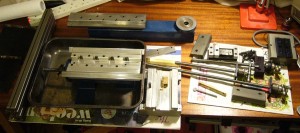
It took more than a day’s work to dismantle, clean, reassemble and adjust the Taig mill. Funny how sometimes you don’t realise just how filthy a thing is until you start scrubbing the layers of grime off it (in this case, dried oil and grease with swarf and dust embedded in it):

mill1

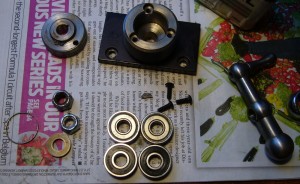
Shiny clean parts ready for reassembly:

mill2

I also replaced the leadscrew bearings in the Y axis because they had gone rather lumpy. I’ll probably do the other two axes as well soon.

mill3

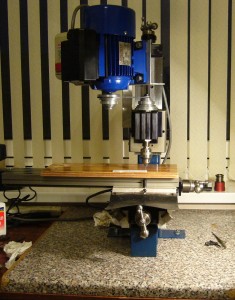
Reassembled mill, bolted to an offcut of kitchen worktop and ready to start a precision drilling job.

mill4

I need to drill about 120 holes, precisely located by eye (under magnification), 1mm dia or less in 1.5mm thick sterling silver. Annoyingly I broke two expensive Swiss 0.7mm HSS bits within the first few holes (not entirely sure why – it doesn’t help that you have no feel at all for how much torque you are applying). I am now using a 0.9mm carbide PCB drilling bit (which is bigger than I would prefer), and have successfully made it through about 40 holes by peck drilling and feeding very slowly indeed. I’m probably spending about a minute on each hole. CNC would certainly make the job easier, even if I was only using it to manually jog to each hole location before running a few lines of code to automatically drill the hole at a consistent feed rate.
Mucky Mill

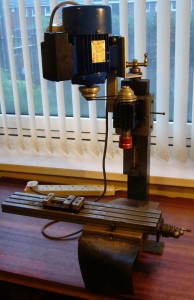
I’m back at my parents’ house for Christmas, and while I’m here I’m hoping to make a start on converting my Taig benchtop milling machine to CNC. It has been stored under a sheet of plastic in a damp shed since I moved out of my previous workshop about five years ago (crikey, has it really been that long?). Fortunately I smothered everything in oil at the time, so it hasn’t suffered too badly from rust – the worst bits are the handles, which I’ll be replacing with motors anyway. The oil has gone sticky and attracted a lot of dirt though, so my first task is going to be to completely dismantle, clean, oil, remantle (is that a word? if not, why not?), and adjust everything to run smoothly and accurately again. I have a little job coming up where a manual precision drilling machine would be very useful so I’m planning to do the first stage quite soon.

mucky_millThe thing on the spindle is a first generation HighTechSystems rapid tool changer. Unfortunately it’s now discontinued, though I already have a decent selection of holders for it and I think once I have converted my Taig lathe to CNC it shouldn’t be difficult to machine bespoke ones to hold different sizes of tool. The idea is you have a specific holder for each tool used in a job. You set up in advance a software table that tells the machine controller exactly how far each tool sticks out of its holder, so you don’t have to waste time re-zeroing it each time you change tools (which is a manual process but only takes a couple of seconds).


Bellpush For Sale

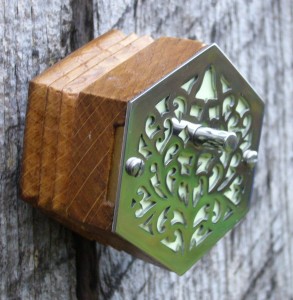
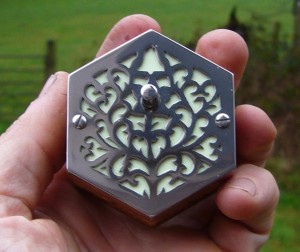
I’ve finished the bellpush and put it up for sale on eBay.

All the previous posts about the project are here.

Specifications

  • 2″ (51mm) wide, 2 ¼” (57mm) tall, 1 3/8″ (35mm) deep.
  • Hand cut stainless steel front plate.
  • Light green glow-in-the-dark vinyl membrane behind the fretwork.
  • Stainless steel button and front plate screws.
  • Varnished oak backing box.
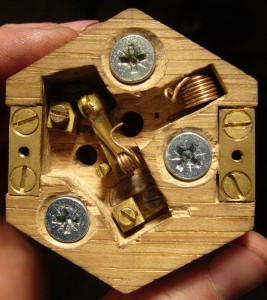
  • Brass electrical screw terminals.
  • Heavy duty sterling silver contacts, suitable for electromagnetic bells.

finished_bell_push_1

finished_bell_push_2

Bellpush Final Details

The bellpush is almost finished. It just needs another two or three coats of exterior varnish, then I’ll put it up for sale (haven’t decided how yet – probably an eBay auction). Here are pictures of a few of the final details.

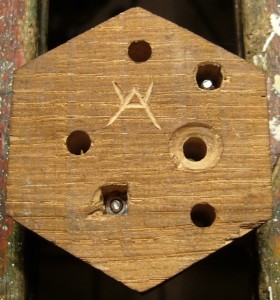
Deeply countersunk holes for three mounting screws (I thought two might be a little wobbly if the wall/door isn’t completely flat, particularly as there wasn’t room to space the screws evenly):

bellpush_details1

My maker’s mark carved on the back. This is a different thing to the Holden Concertinas logo (which isn’t on the bell push because I haven’t designed it yet). The HC logo will be the company brand and will be externally visible; my maker’s mark is my personal signature and is usually hidden away somewhere (I put it on most other things I make too).

bellpush_details2

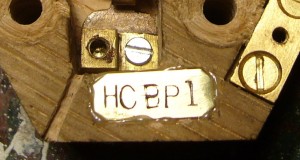
A brass serial number plate (visible when you remove the top plate), rather crudely stamped with a worn set of letter punches. The letters stand for “Holden Concertinas Bell Push 1”. Also seen in this picture is a little drain slot so any rainwater that leaks into the switch recess can run out of the bottom.

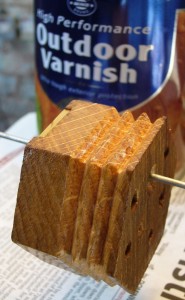
First coat of exterior clear varnish (thinned down so it soaks into the grain), after sanding the bellows valleys because the bottoms of the trenches were a bit fluffy. The grain of the plain oak looks really pretty. I debated with myself for quite a while over whether to stain it darker to look more like a vintage rosewood concertina. In the end, after staining and varnishing a test piece, I decided against it because it looked a bit fake and the end grain stained much darker than the side grain.

bellpush_details4