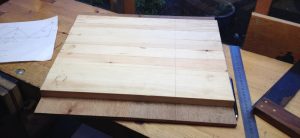
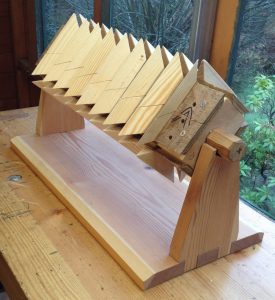
The fifth instalment in the story of building my first concertina is about the bellows. First I had to make a new, rectangular mould to assemble them on. The stock for the forms was constructed from strips of softwood glued across a plywood base, which I then ripped into four pieces.
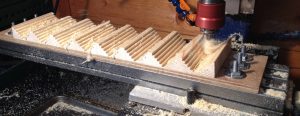
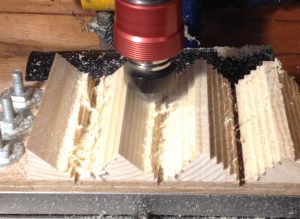
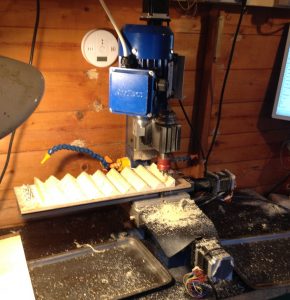
I again milled the forms to shape on the CNC mill. One thing I did differently this time was to rough them out in staircase form with an ordinary ¼” end mill first before cleaning them up with the large V bit.
When I made the forms for the hexagonal mould, I cut straight into the material with the V bit using lots of shallow passes, which caused lots of noise and vibration, resulting in a poor surface finish. Removing most of the material with an end mill first gave much better results.
The wide forms stretched the machine to the absolute limit of its Y axis capacity.
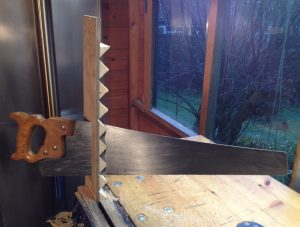
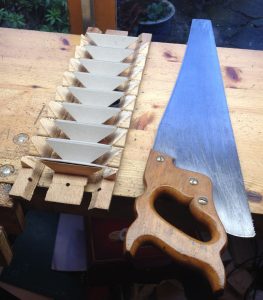
The bandsaw I had at the time wasn’t capable of ripping the angles off the undersides of the forms, and I don’t own a table saw, so I did them with a hand rip saw instead.
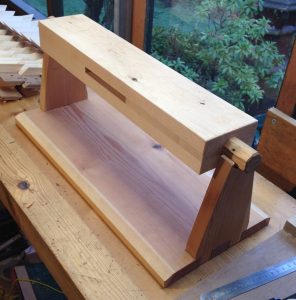
The rectangular core was relatively simple to make compared to the previous hexagonal one.
I split both of the long sides to make the mould easy to remove from the finished bellows.
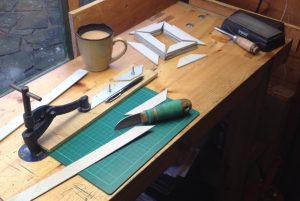
Cutting the cards by hand with a craft knife. I hate this part; it makes my knife hand ache for days afterwards. Also, because this set of bellows was meant to be relatively heavy-duty for a ‘travel’ instrument, I chose to use thicker 1.5mm card rather than the standard 1mm stuff I used on the tuning bellows (in hindsight this may not have been a good idea because it made the bellows a bit bulkier). I have since bought a special card cutting guillotine that in the future will make this operation much quicker and easier.
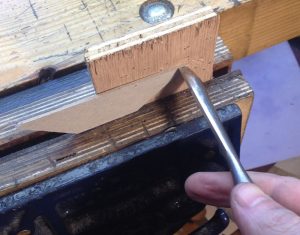
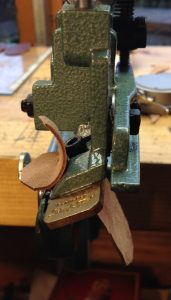
Rounding the corners of the cards with a gouge. I started off pressing down onto the bench, but I found it was easier to put a cutting board in the vice and lean against the gouge handle with my hip.
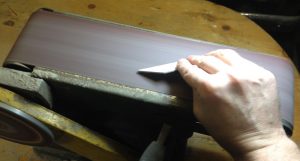
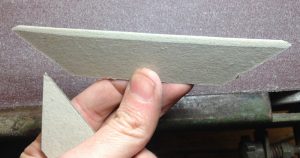
I rounded the tops of the cards on a linisher (bench mounted belt sander) with an 80 grit belt. In hindsight I should have done this outdoors because everything in the garage including my car wound up covered in a thick coating of fine grey dust!
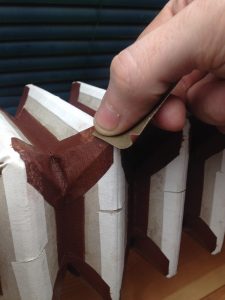
The rounded top of a card. This gives a nice shape to the peaks of the bellows folds, though in hindsight it would have looked better still if I had rounded the pointy corners a bit more.
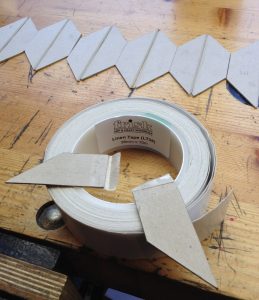
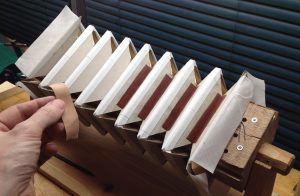
I decided to try hinging the cards together with a self adhesive linen hinge tape made for bookbinding and other card related crafts. The roll was quite wide so I cut it in half. This picture shows the result of a strength test: the surface of the card ripped off before the glue or the linen failed (and it took quite an excessive amount of force to do so).
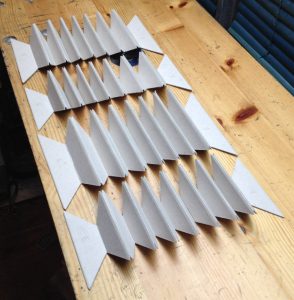
I started by hinging the cards together on the inside. The peak hinges can be taped with the cards laying flat, but it’s better to do the valley hinges with each pair of cards in the closed position (or flat but with spacers holding a slight gap between them), otherwise they will later resist closing.
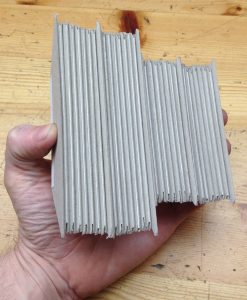
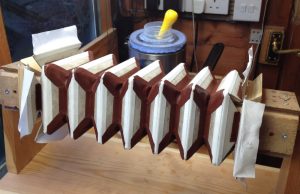
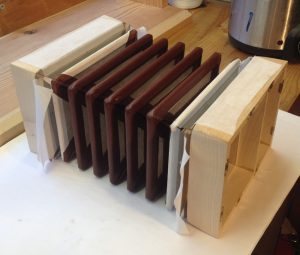
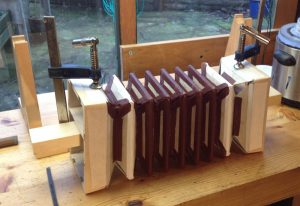
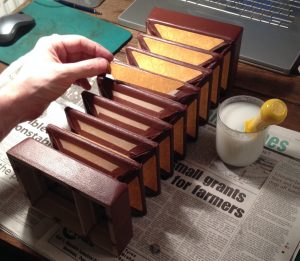
I folded them up and clamped them tightly like this for a couple of days to help the tape glue to really bond well to the cards. Note that the end cards are slightly taller because the end boxes are about ¼” bigger than the bellows. This is partly cosmetic and partly to avoid the bellow peaks touching the table when you put the concertina down.
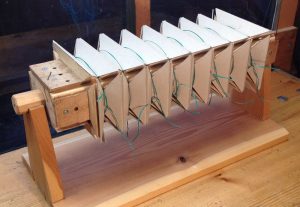
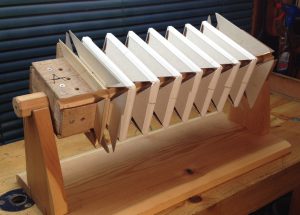
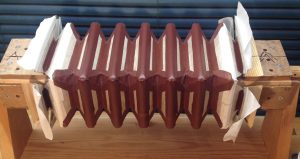
Next I tied the sets of cards to the mould with plastic coated gardening wire. Elastic bands would probably have been easier but I didn’t have any long enough. Note that the bellows frames aren’t attached to the mould. This wasn’t possible with this instrument because the frames have a divider across them due to the split reed pan design.
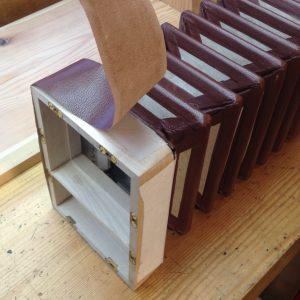
I ran the self adhesive linen tape all the way around each peak. This gives a stronger bellows than if you just put small pieces on each corner.
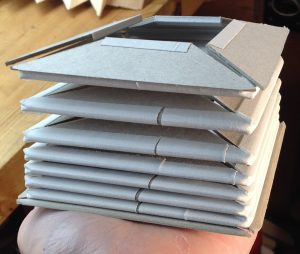
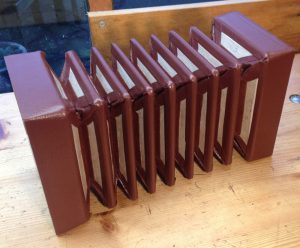
Afterwards I took the full set of cards off the mould and again pressed it tightly for a day or two to help the top hinges stick as well as possible. You can see in this picture what I meant about how it would have looked neater if I had rounded the corners of the cards a bit more.
I needed wider hinge strips on the end cards to attach the bellows to the frames, so I cut those from the ‘Fraynot’ hinge linen from Shepherds bookbinders’ suppliers that I used for all the hinges on my tuning bellows. I cut it on the bias to make it less likely to fray or rip.
Then I glued them on. From this point on, I used hot rabbit-skin glue for everything except the decorative papers.
A brief digression about my experience with the self adhesive hinge linen. In future I’m going to go back to using the Fraynot linen cloth for everything. Although the self adhesive tape worked fine and I don’t think it’s likely to come apart, I found that I much prefer working with the Fraynot and a liquid paste/glue, because if it goes on wonky you can peel it straight off and reposition it, whereas the self adhesive tape sticks instantly and you have to tear the surface of the card to get it off again, then throw away that strip of tape. The tape is surprisingly expensive too, though that’s not my primary consideration. It also had quite a lot of wrinkles in it where the cloth had stuck to itself during manufacturing and the glue is so strong it’s not possible to pull the wrinkle out; sometimes I had to waste a section of it to avoid putting a wrinkled piece on the bellows where it would be visible through the leather. Most importantly, I believe the hinges I get with strips of cloth are noticeably thinner and more supple than with the tape. The difference is fairly subtle when looking at a single hinge, but an entire bellows set with hinges on both sides of the peaks feels relatively stiff and bulky when assembled with the self adhesive tape. Although it’s possible the tape is made from a heavier cloth, I suspect the main difference is in the properties of the glue. I have found that traditional wheat paste doesn’t noticeably stiffen the hinge at all, whereas rabbit glue does stiffen it a little initially but after working it for a while it ‘breaks in’ and becomes supple again. Whatever is on the self-adhesive tape has a rubbery feel to it, and seems to add a bit to the thickness of the hinge too.
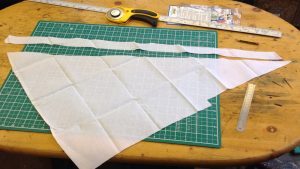
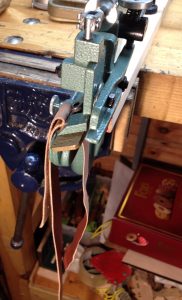
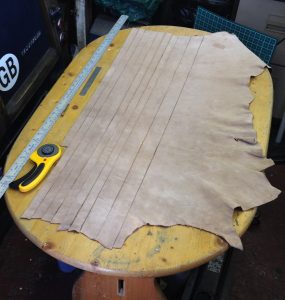
I covered the bellows with a nice brown goatskin leather from Hewit, cutting it into strips with an Olfa rotary cutter, which really cuts very nicely, much easier to use than a craft knife.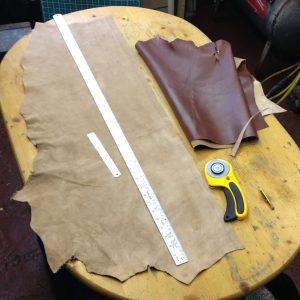 Using my Scharffix 2000 to pare the leather down.
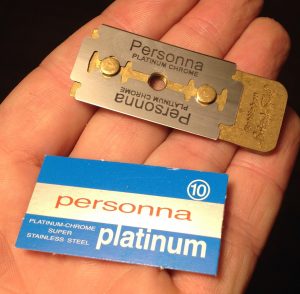
Thanks to a thread on the concertina.net forum, I learned that Israeli-made Personna safety razor blades fit the Scharffix and cut really well, better even than the thicker OEM blades that came with the machine. It’s crucial with this machine to use ultra-sharp blades, otherwise it behaves terribly, stretching and ripping holes in the thin leather.
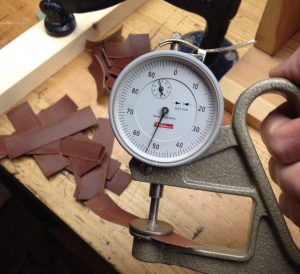
Checking the thickness of the valley strips.
And gluing them on:
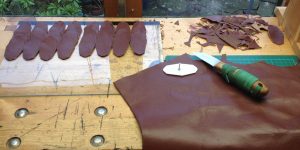
Cutting out the gussets with a template and craft knife. This is rather a tedious job; a die tool would make it much quicker.
I use the Sharffix to do as much of the skiving as possible, but the gussets always need a bit of manual cleaning up afterwards with a skiving knife.
Gussets glued on. It proved rather a pain to get the bottom corners to fully stick to the valleys without leaving a little gap. I wound up waiting for them to initially dry, then adding a bit more glue to each gap with a tooth pick and pressing it down with a bone folder until it stayed in position. This is less of a problem with bellows that have more than four sides because you don’t have to stretch the gussets around such a tight angle.
I roughed up the tops of each gusset slightly with sandpaper before gluing the top runs over them.
Cutting more long strips of leather for the top and end runs. It’s a pain when the Scharffix goes wrong in the middle of one of these strips because you need the whole run to be good to avoid having more than one joint.
Next I needed to take the bellows off the mould and attach them to the frames, starting with the hinge linen.
Now the end gussets. This was way more difficult to do neatly without the aid of a mould. It helped to use a stick clamped to the frames to hold them a fixed distance apart.
Finally the end runs. As I mentioned in part three, here’s where I realised I’d made a mistake in not making the bellows frames a tiny bit smaller than the action boxes, in order to hide the edge of the end run. I skived the edge down as close to nothing as I could and tried to get that skived edge flush with the edge of the frame, but it was impossible to get it absolutely perfect, so when I subsequently trimmed the extra off, the edge wasn’t infinitely thin any more so it is possible in places to see a tiny bit of unfinished leather. I recognise I am quite possibly being over-critical of my own work here!
Looking pretty good!
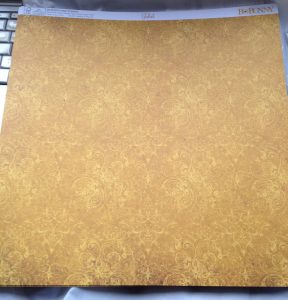
For the decorative papers, I took a sample of the leather down to my local craft shop and looked for a patterned decoupage paper that went well with it. This is what I found. I avoided cutting papers from the area near the bottom that looks dirty (the design is actually printed that way).
I spent a pleasant evening cutting out papers and pasting them on while watching TV programmes in the background.
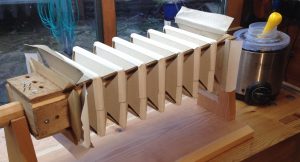
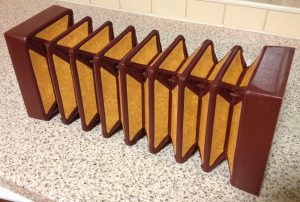
The finished bellows. I think the papers really go quite well with the leather. Although they were still quite stiff and springy at this stage with a preference for remaining open, I subsequently spent quite a while pressing them and exercising them, and they gradually broke in and became easier to play.
Hi, Alex – fun to see the (a well-known) process!
1) I like the rounding/sanding of the top of the cards. I’ll do that next time. I am still trying to get the fold more narrow. I found some fabulous, Chinese silk bands (real silk, not modern acrylic-what-have-you).
Thickness = 0.1 mm!
2) Pre-pressing the bellows before the leather goes on: I’ve heard that before and it sounds like a good idea. Mind, I also attach the frames on the mould, but I can wait with that till after pre-pressing.
3) Cutting cards. I built a small guillotine, basically like Geoff Crabb’s, specifically for this. The long strips in the beginning I cut on a sort of modified passepartout cutter, built into a work table. Makes cutting a very easy job, though the accuracy isn’t good enough (that can hopefully be changed) – which I compensate for after cutting the cards, on the guillotine, set for parallel cutting, chop, chop, very fast.
4) Bellows frames smaller than end boxes. I’ve found a rule-of-thumb for that:
Bellows frame = end box–1 mm, i.e.: end box = 152,4 mm => bellows frame 150,4 mm (6″ instrument).
Question (though it will be your customer who has the answer): how easy is it to fully close your (Hayden) bellows?
‘Cos I think I made a mistake on my last instrument – I stretched the leather strips quite a lot when I glued. And later heard that that was a no-no… After several hundred hours’ playing it still protests against full closure. Grrr!
Gussets and glue: I have great results for the gussets using “Fiebing’s Leather Cement”.
Best regards,
/Henrik
Thanks Henrik! They don’t close quite as easily as I would like, but I suspect it’s mainly the self adhesive hinge strips that are to blame. The first set of bellows I made, with the Fraynot linen hinges, are more supple. I didn’t stretch the top/end runs very tight. The bellows seem to have a bit of a memory: the case compresses the bellows nearly shut, and when you take the instrument out the bellows close fairly easily. If I leave the instrument out of the case overnight so it isn’t being held closed, the next day the bellows will be less easy to close.