My fourteenth concertina was a small, lightweight, 48 button duet with an unusual keyboard layout inspired by an antique Viennese concertina. We modified the concept slightly by giving the instrument the same keyboard curve, spacing, and hand rails/straps as a Crane duet rather than the slanted straight rows and English-style thumb straps and finger grips of the Viennese original. We felt this change improved the ergonomics as well as freeing up all four fingers to be used for playing.
Rather than attempt to explain the layout in words, here is the button diagram (C4 = middle C):
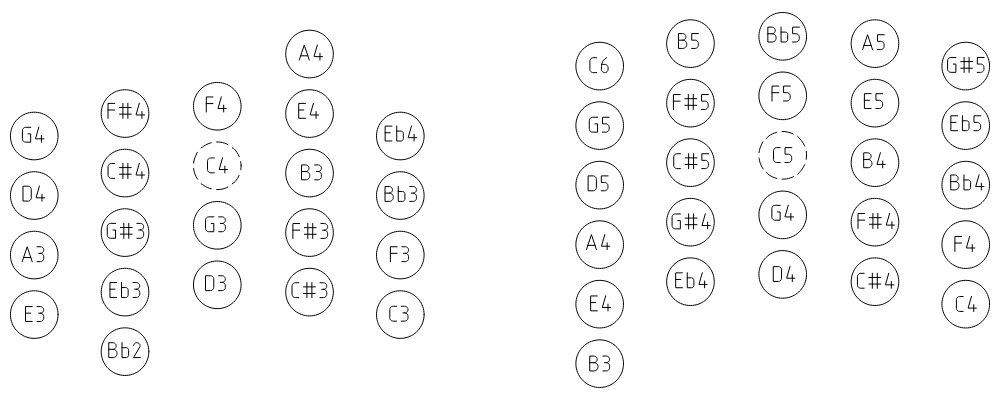
Note that the range is similar to a standard 48 button Crane, but it adds a Bb2 and an A4 on the left hand and a B3 on the right hand, at the cost of the highest three notes on the right. The standard 46 button Hayden layout also has quite a similar range, whereas the standard 46 button Maccann has the right hand shifted higher up the scale, with a range from G4 to G6.
There is a discussion on the Concertina.net forum about the advantages of this layout compared to the Crane layout. Note that there isn’t a clear consensus on the name of the system, so although I call it a Viennese duet, you may also see it called a 5CC (five column chromatic) or Wiener (the German word for Viennese) duet.
Specification
- Viennese duet with Crane-style curved rows and hand rails/hand straps.
- 48 buttons: 22 on the left (Bb2 to A4) and 26 on the right (B3 to C6).
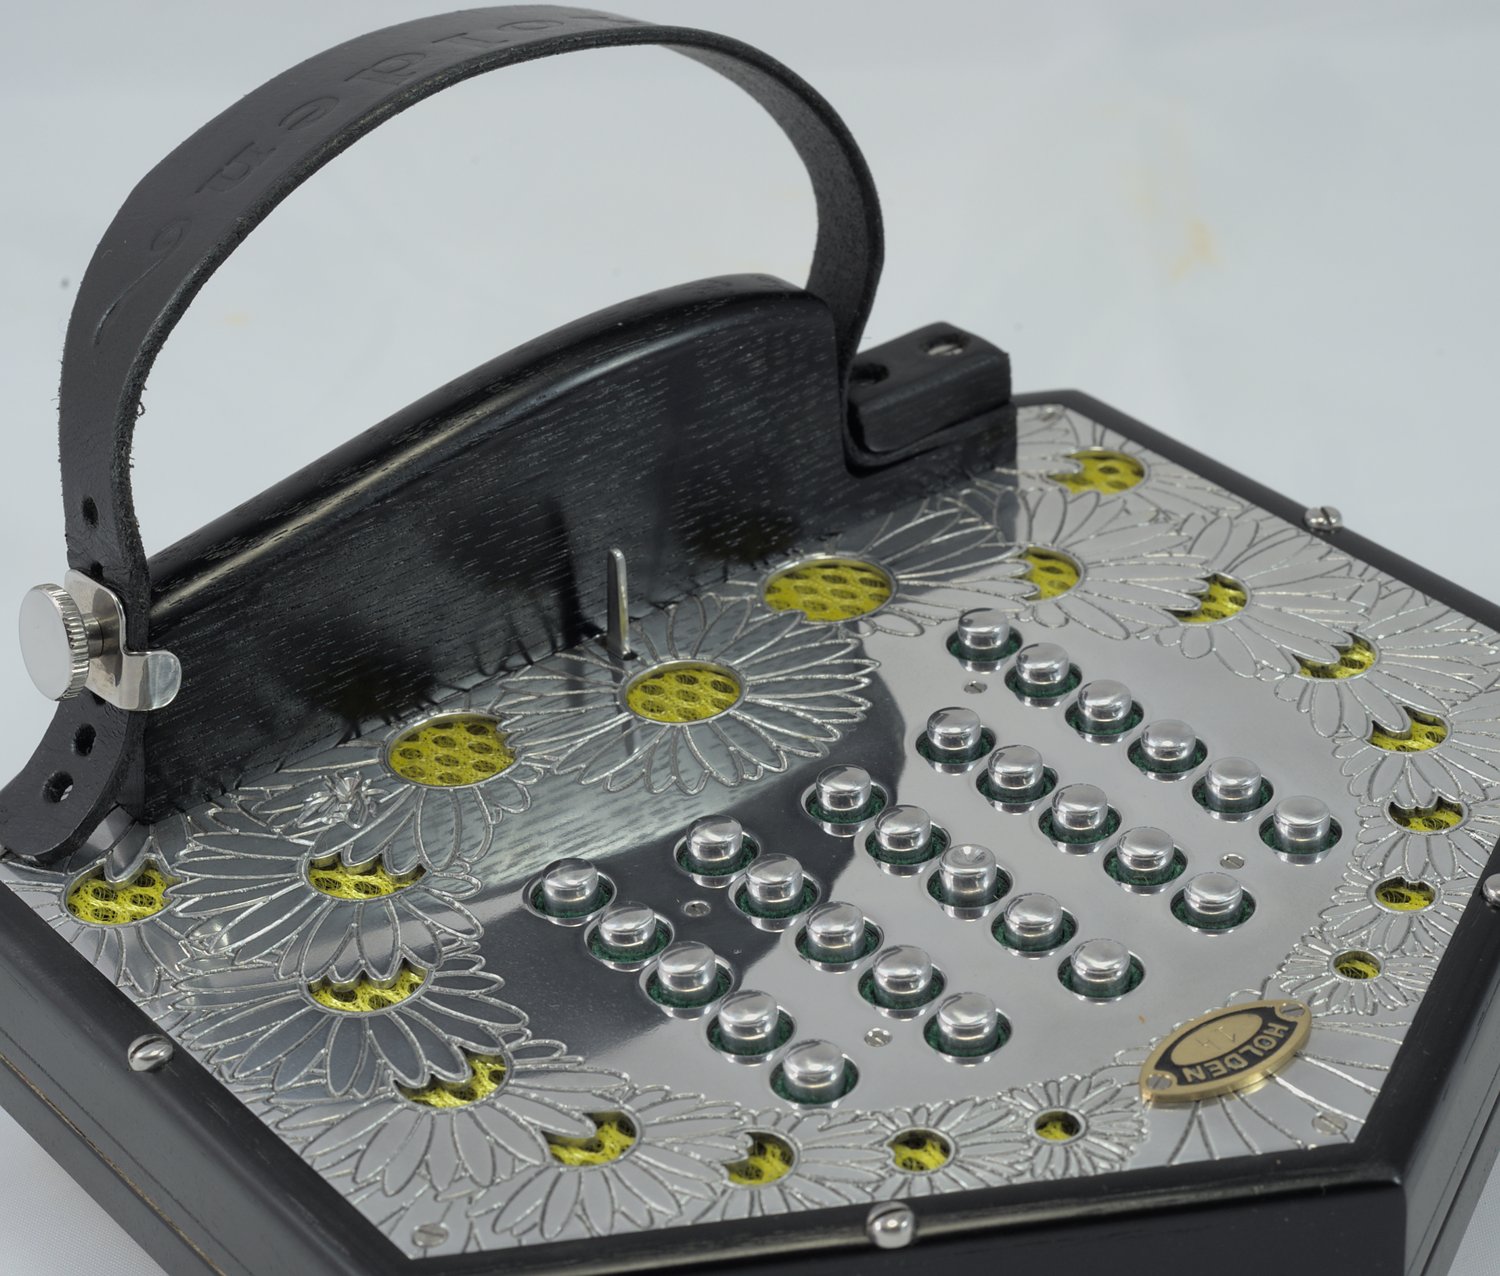
- Air release lever near palm of right hand.
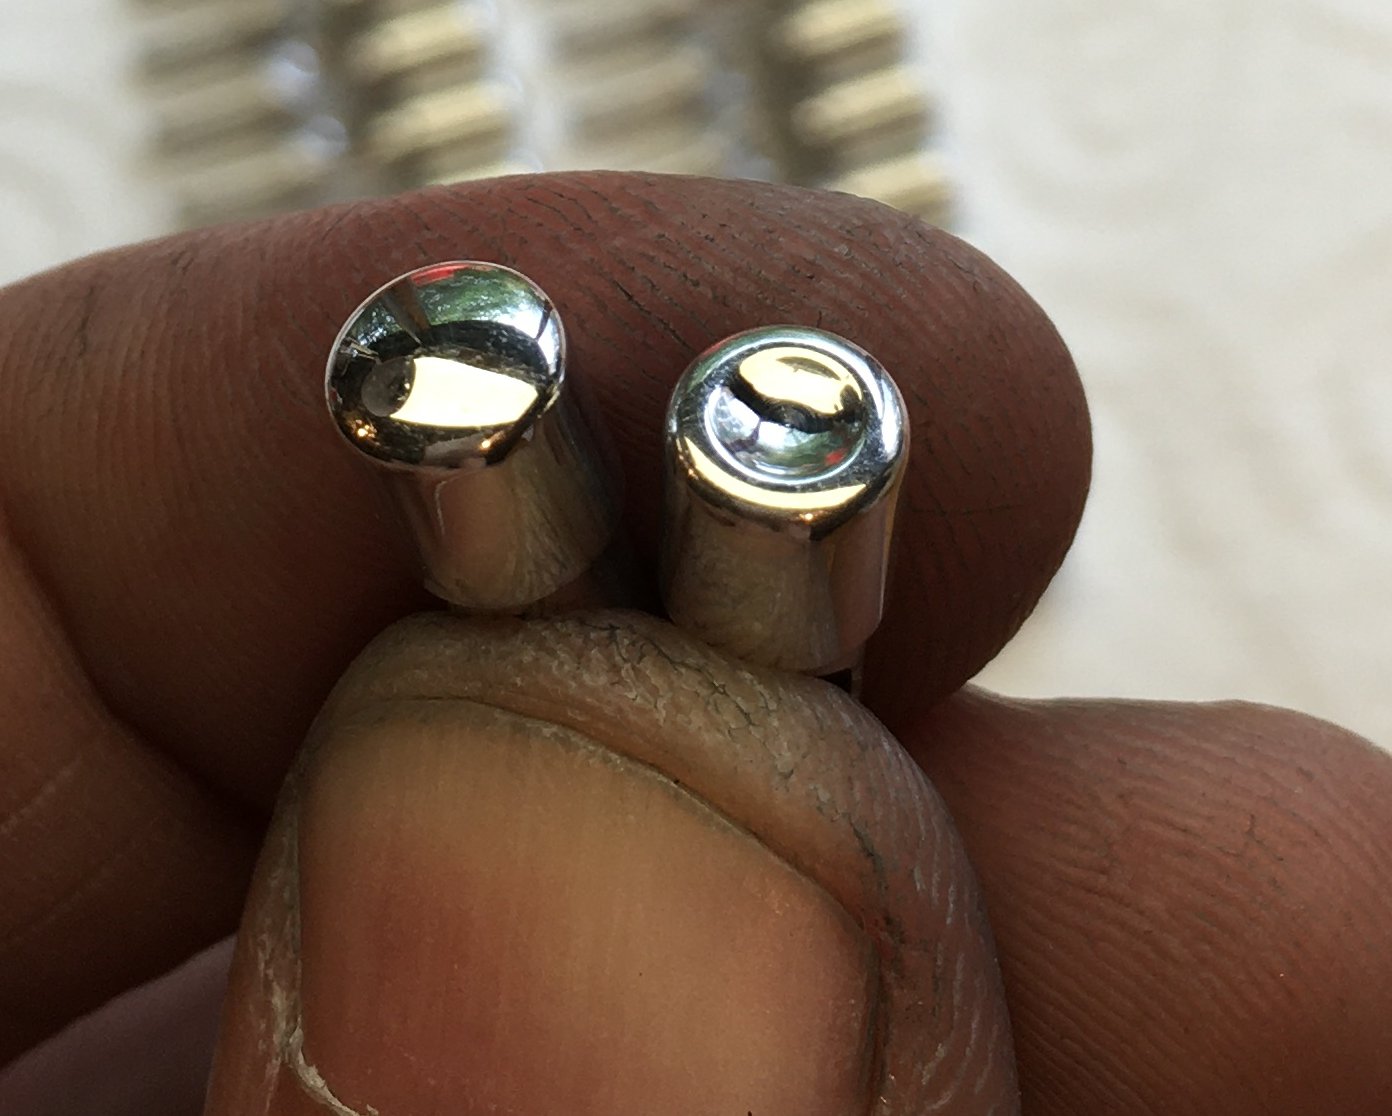
- Solid aluminium buttons, 5.7mm diameter with rounded top.
- Concave top on left hand C4 and right hand C5 buttons to help find home position by touch.
- 3mm tall buttons with 3mm travel (buttons stop flush with end plate).
- Six sides, 6 1/4″ (159mm) wide. (Note: a vintage 48 button Crane duet would typically be about 1/2″ wider.)
- Six fold bellows.
- Plain black imitation-leather bellows papers.
- Flat aluminium end plates set flush into a rebate in the border.
- Custom end plate fretwork and engraving designed by the client.
- Textured yellow grille cloth.
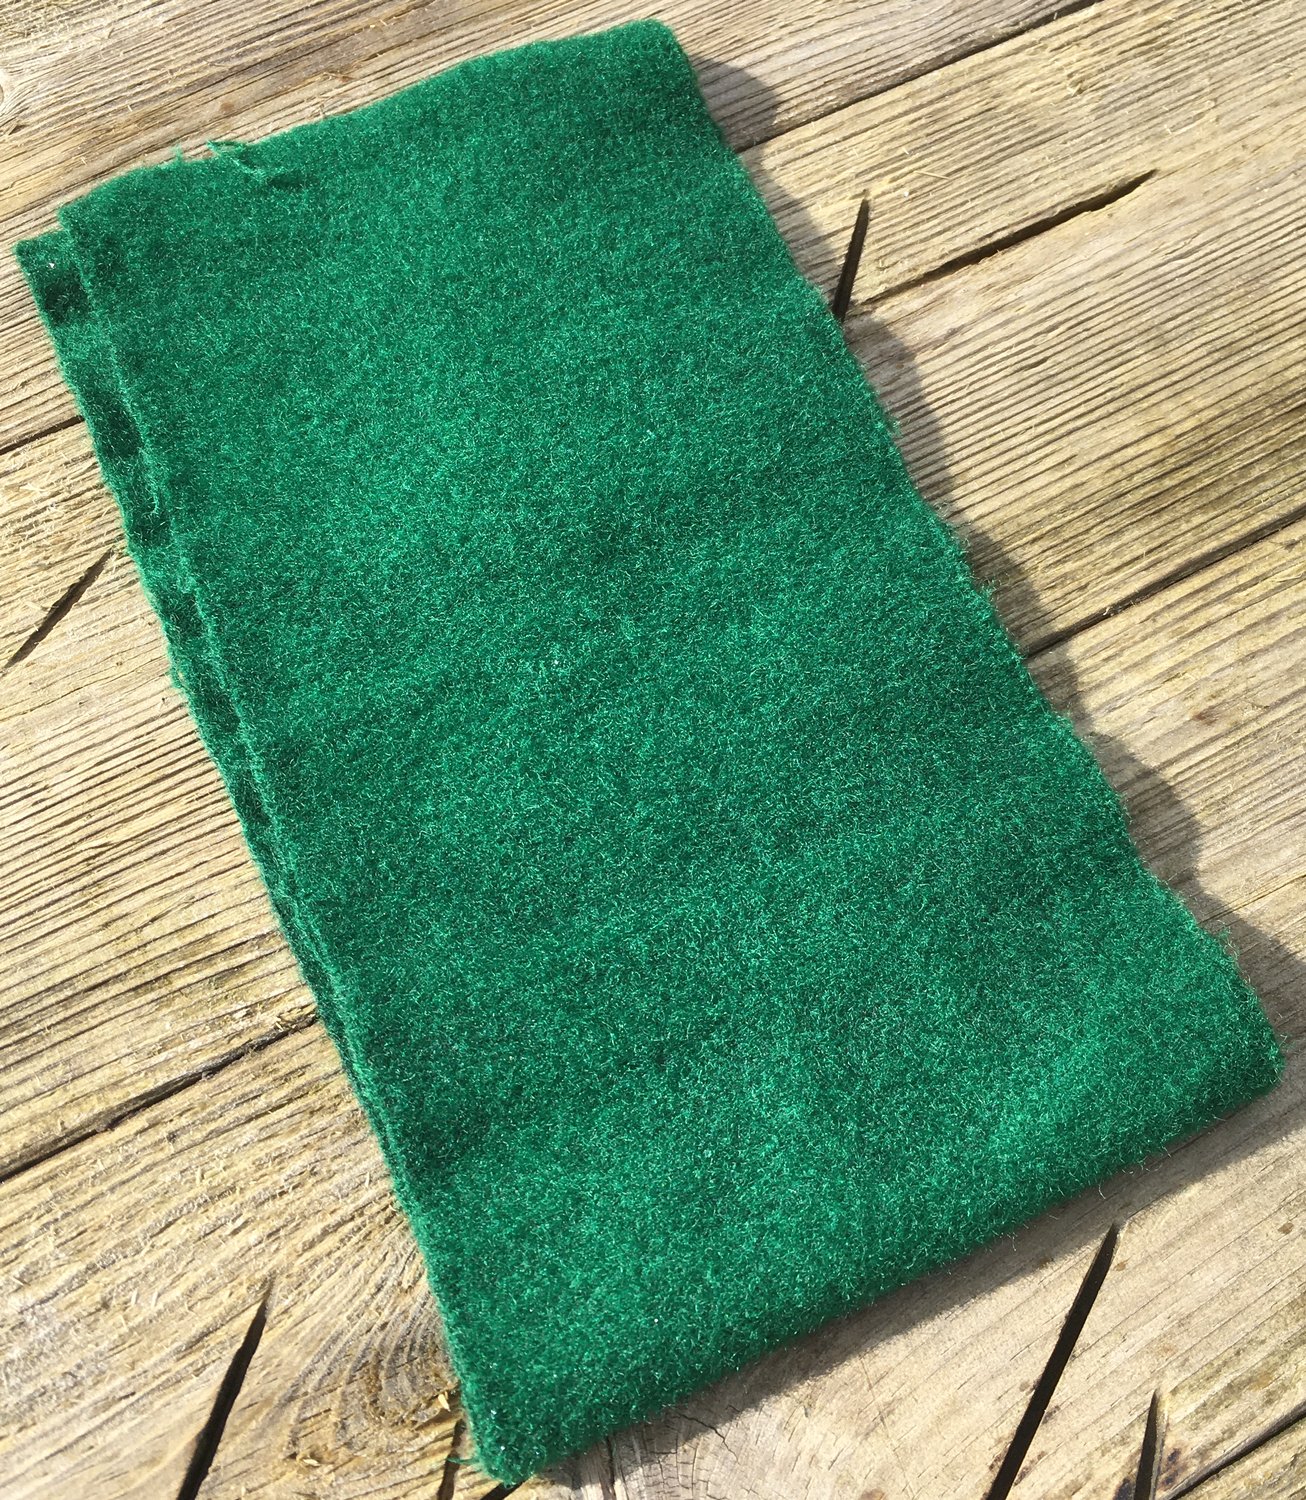
- Dark green button hole bushings.
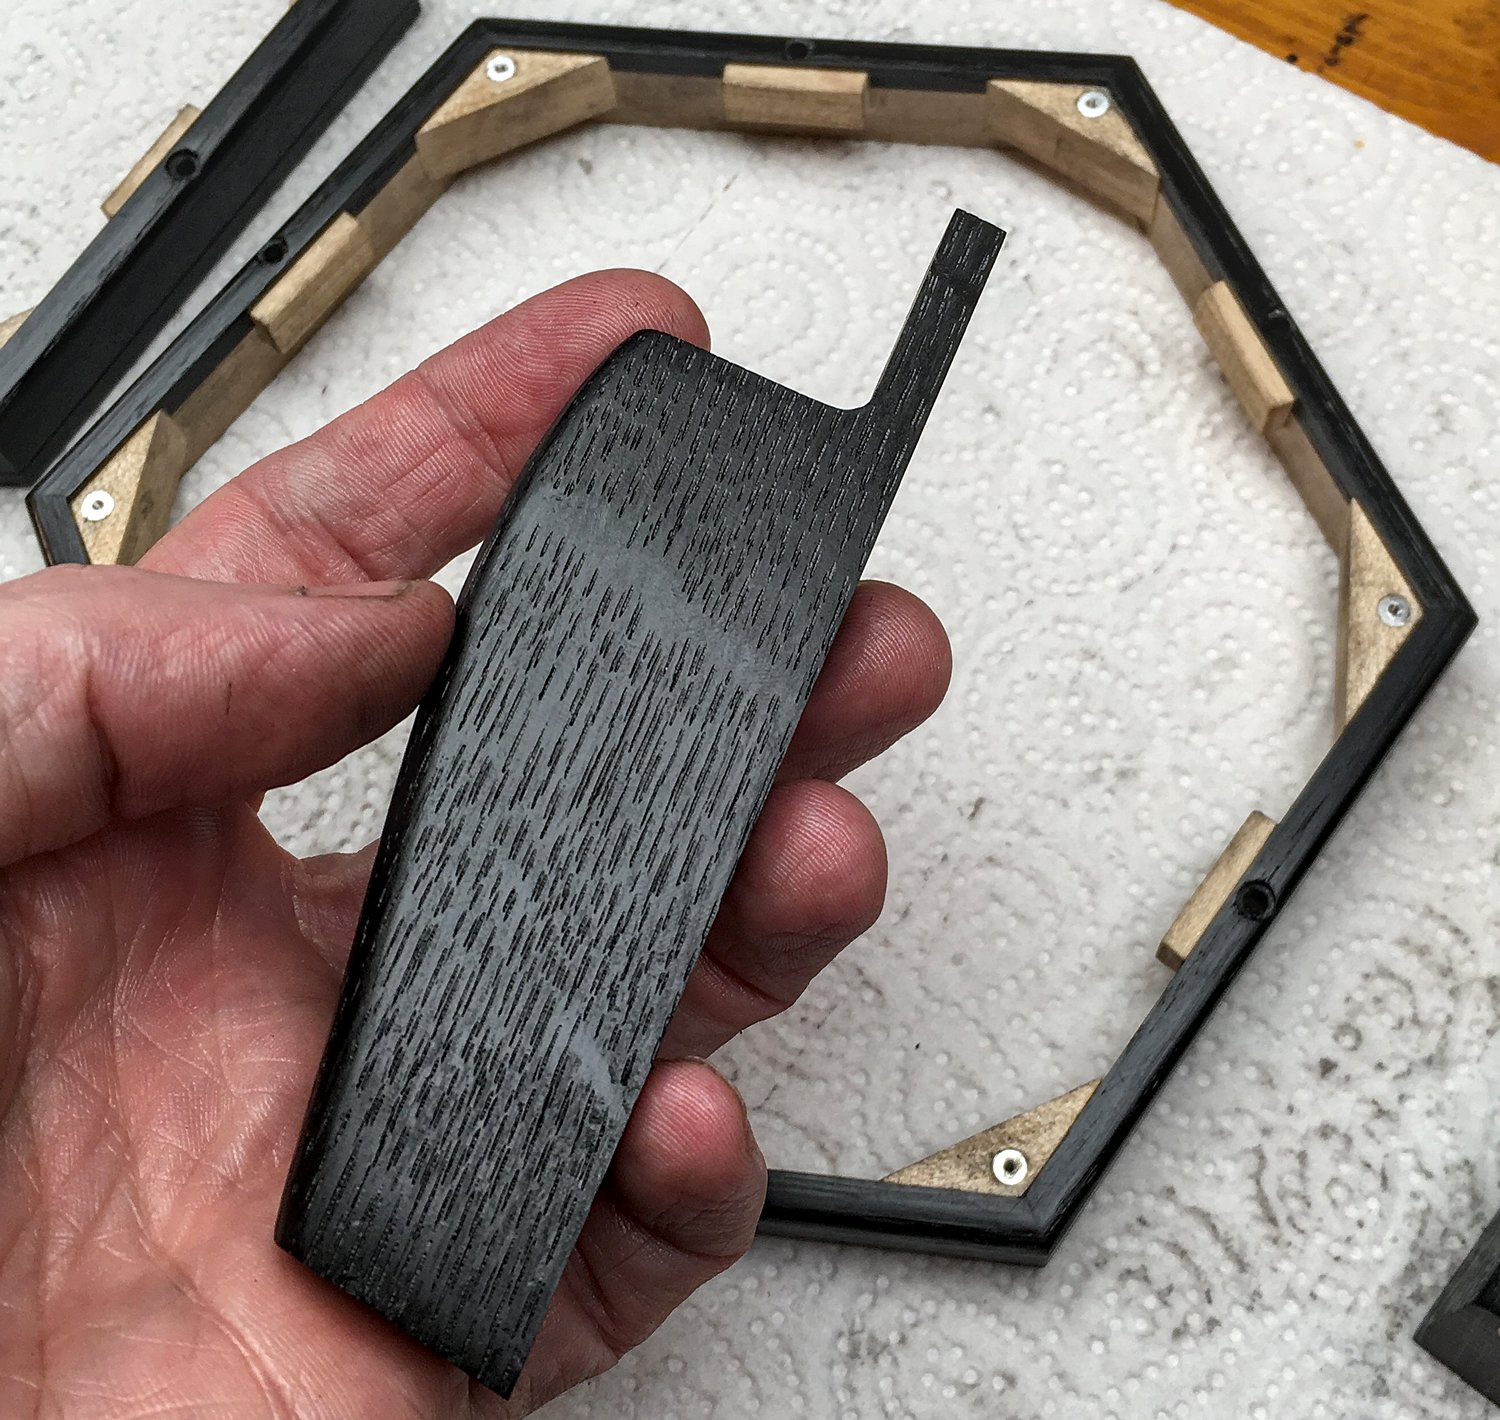
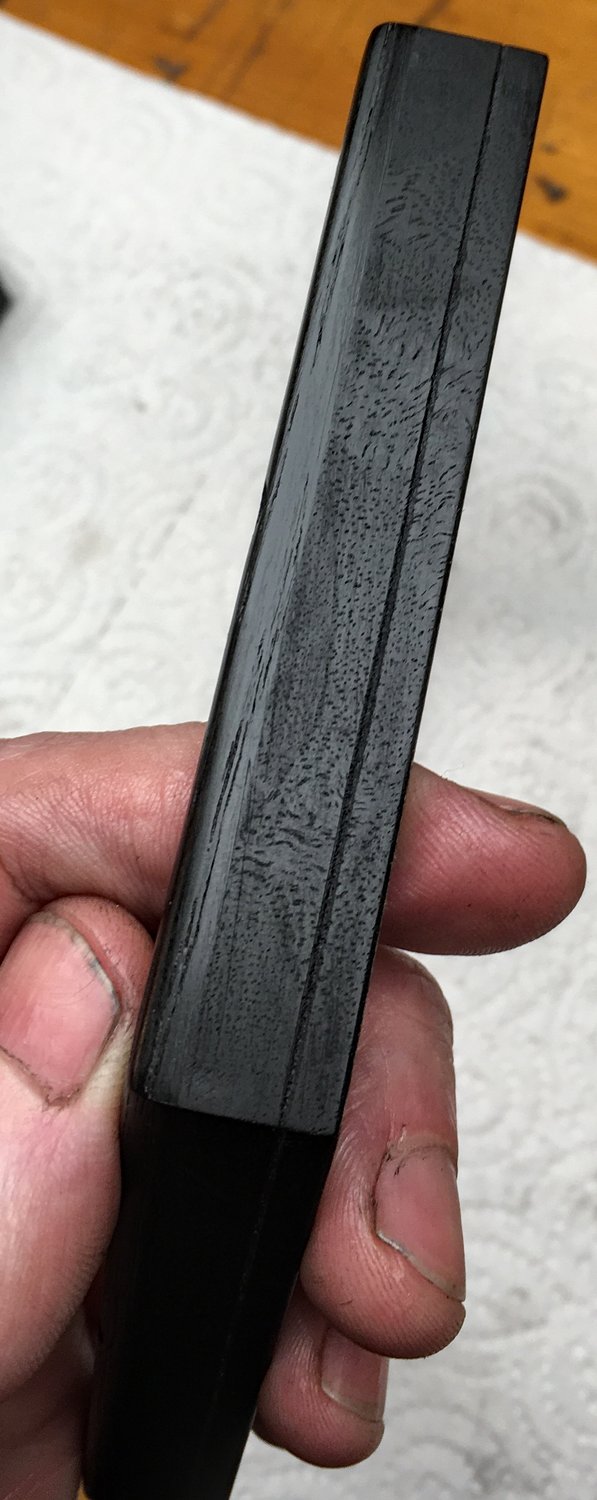
- Ergonomic curved-top black bog oak handrails, positioned slightly further from the keyboard than standard.
- Rounded-over black bog-oak borders.
- Ebonized walnut burl veneer on action box sides.
- Peacock oil finish on external wood for a non-glossy satin finish.
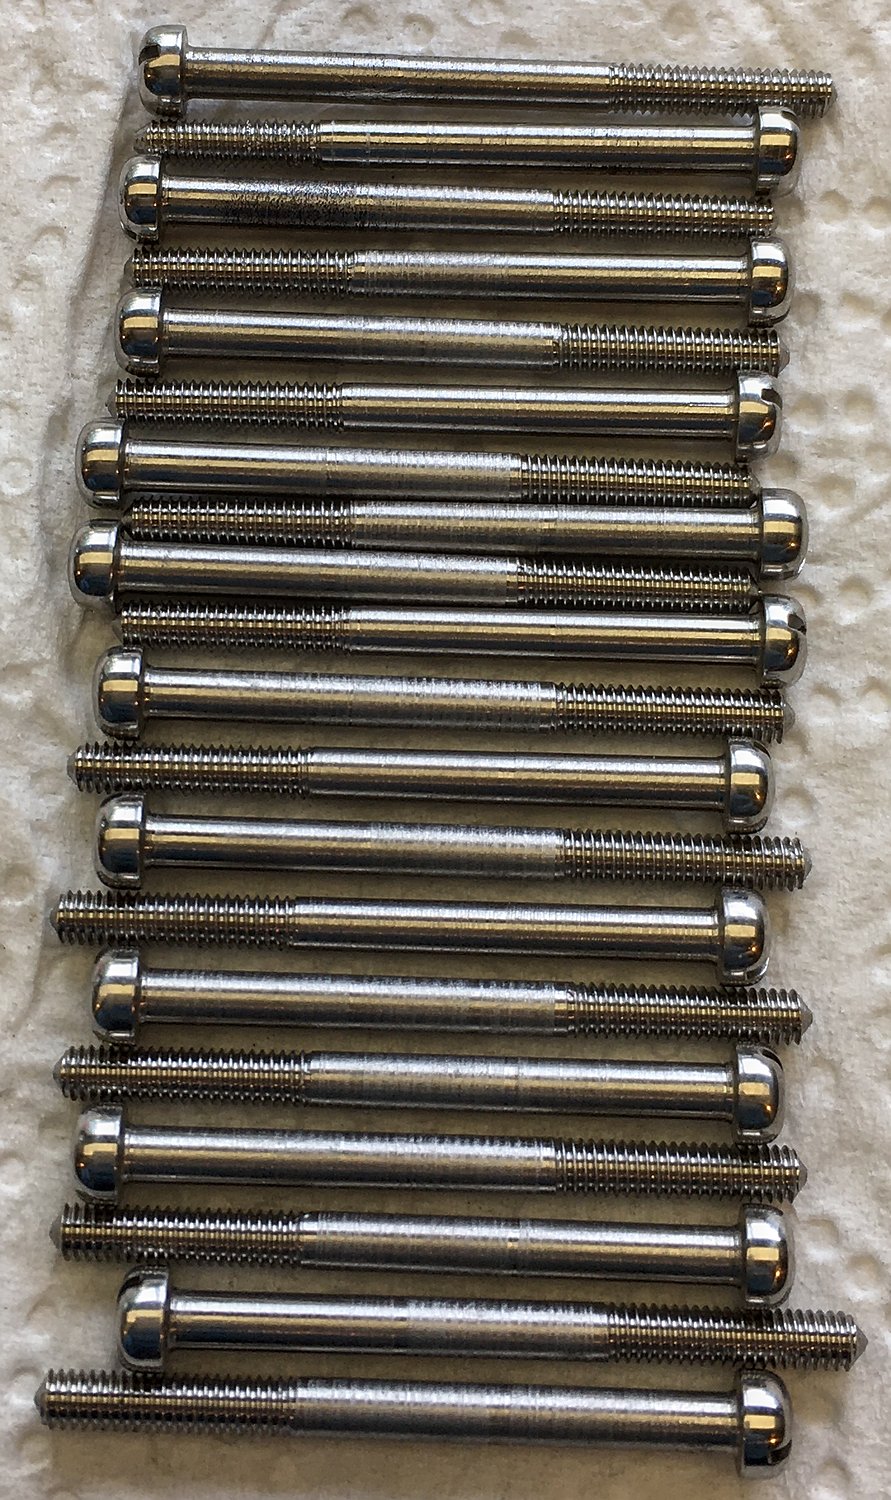
- Stainless steel end bolts with traditional slotted and domed heads.
- Stainless steel hand strap hardware and end plate screws.
- Aluminium reed frames and action levers for weight reduction.
- A4=440Hz, Equal Tempered tuning.
- Weight: 1310g.
- Standard Italian hard case with corner blocks and brown suede lining, with an additional black webbing shoulder strap and extra rubber feet.
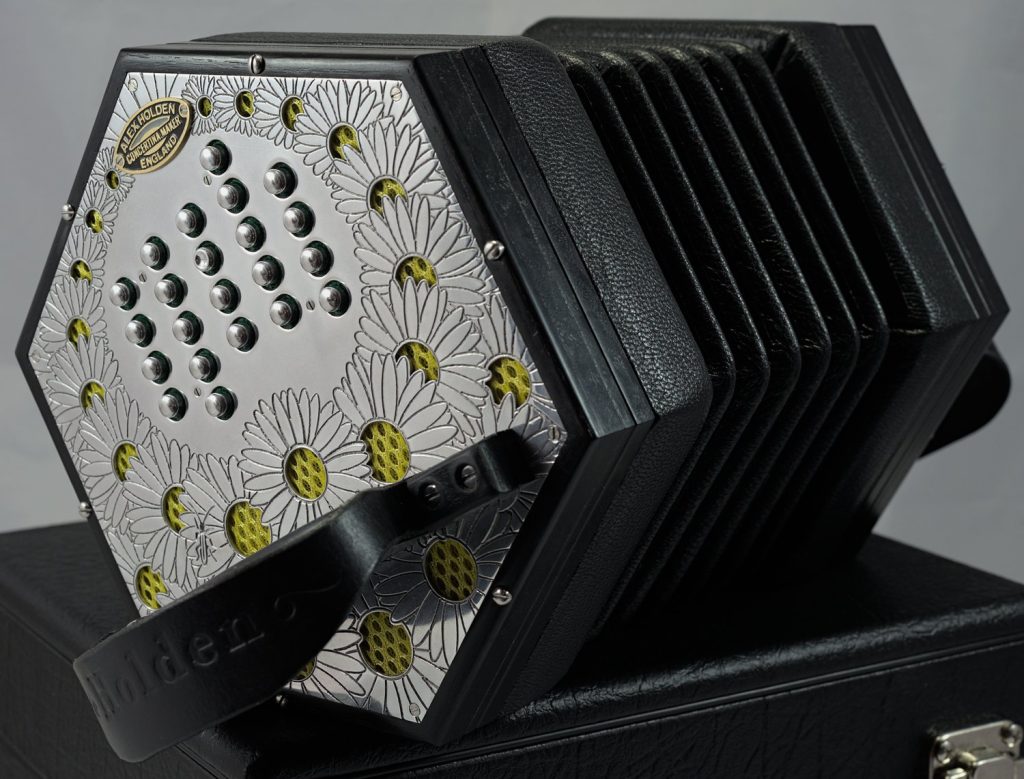
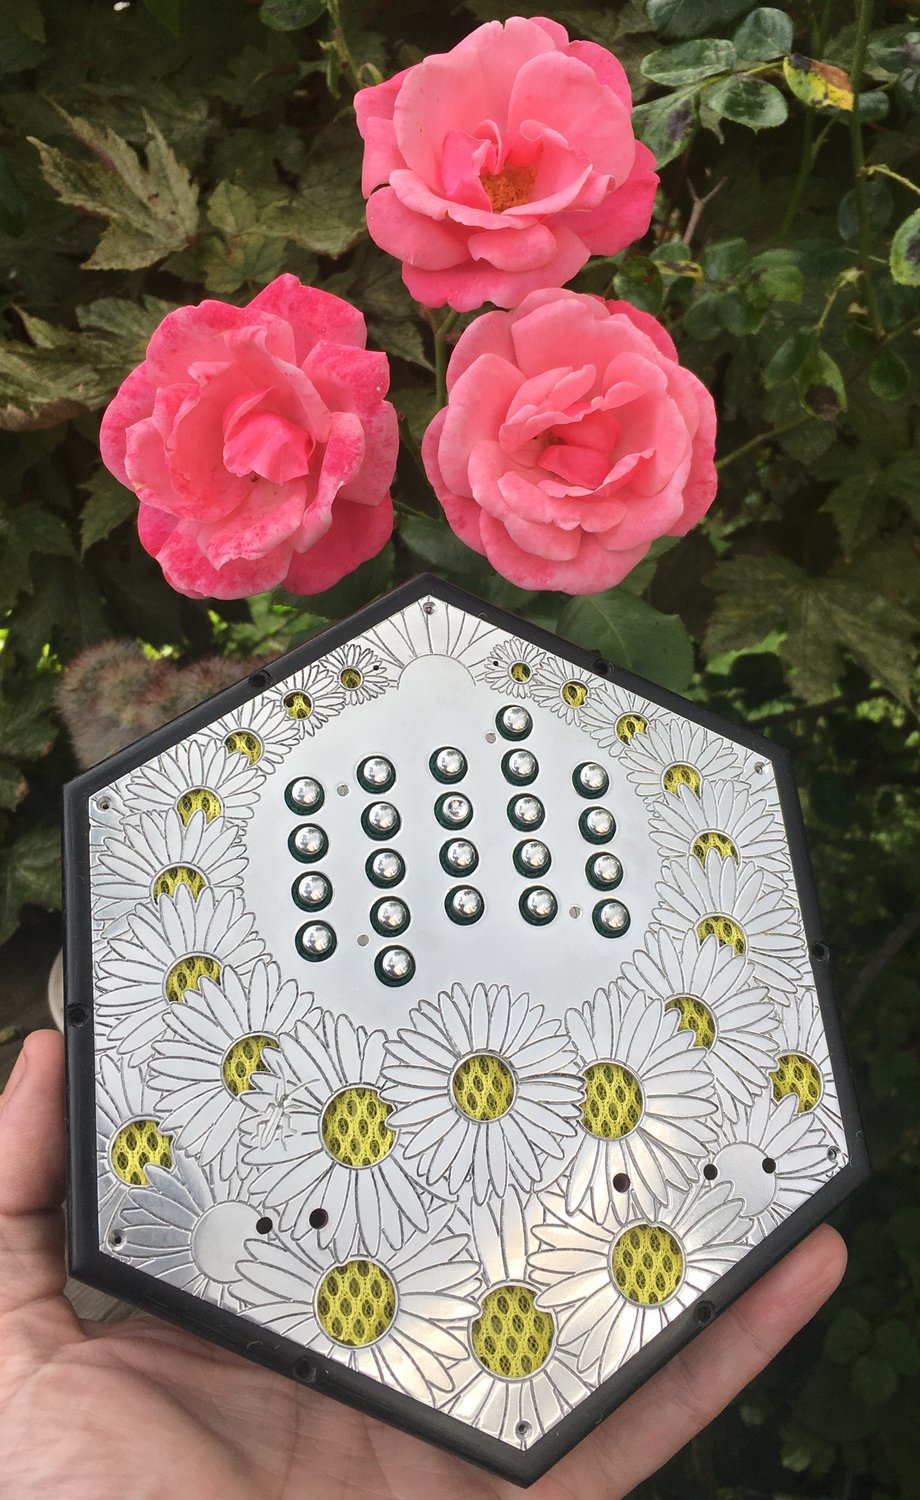
Exterior

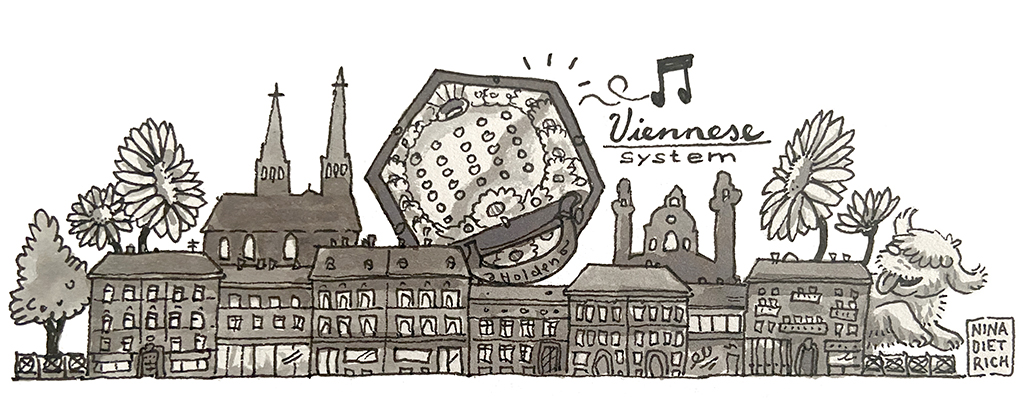
The end plates were designed by my client Nina Dietrich, who is a professional illustrator in Vienna. The design features a garland of ox-eye daisies, AKA marguerite flowers (leucanthemum vulgare). Each side also features a small engraved insect.
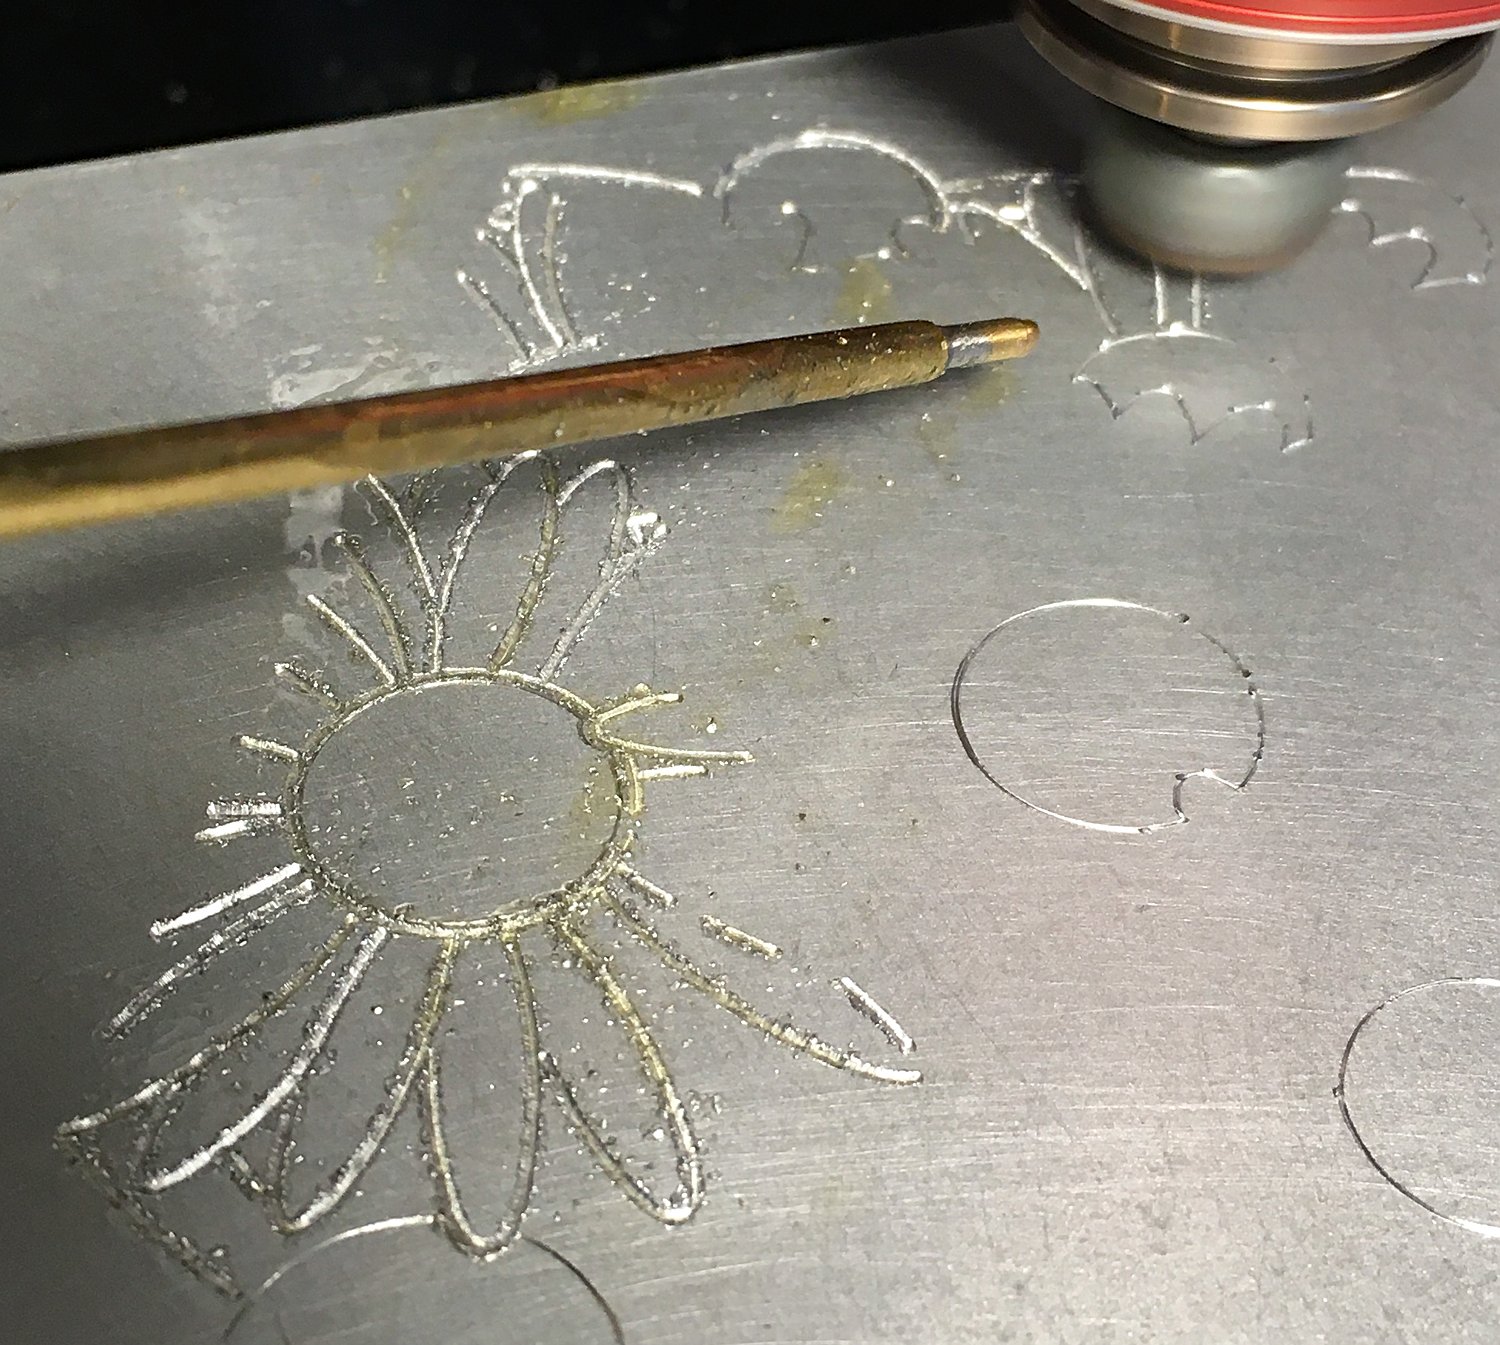
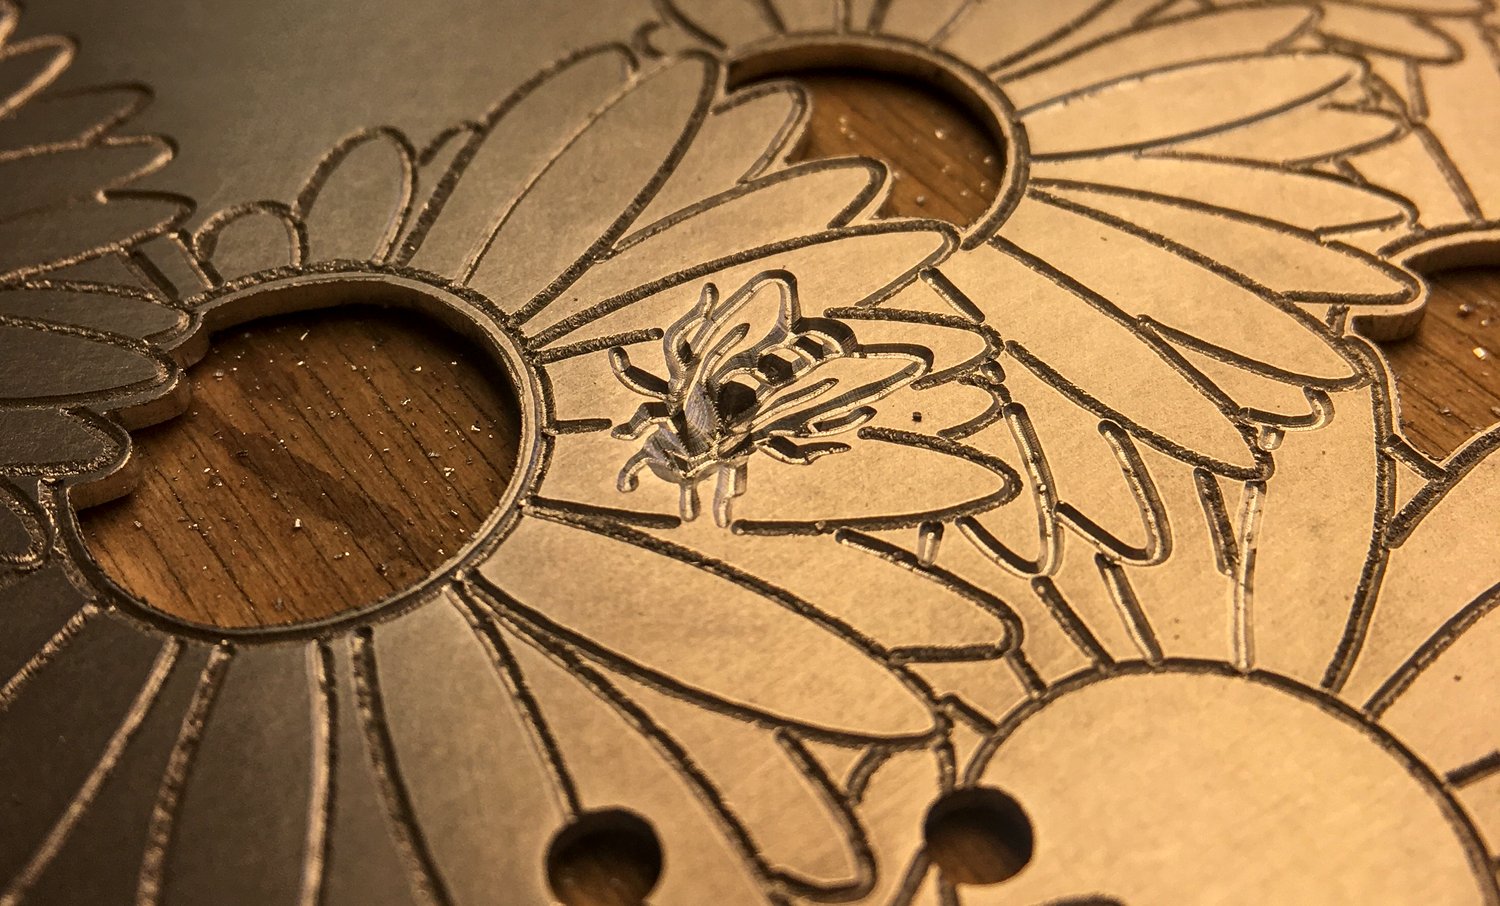
This was the first time I tried doing CNC engraving on the outside of an instrument, and I was pleased with how nicely it turned out. The petals and the insects were engraved with two different techniques. the petal outlines were engraved with a simple single pass with a spring-loaded rotary engraving tool. This is fairly quick and copes with slight height variations, but it leaves a rougher finish on the bottom of the cut and there is some random variation in line thickness because the tool happens to cut deeper in certain areas. The insects were engraved with a fixed V bit and a CAM program that varies the depth of cut according to the width of the engraved area (cutting deeper makes a wider line because the tool is cone-shaped). This second technique is much slower and doesn’t tolerate much height variation of the work surface (so it works better on a small area), but it allows for more nuanced shapes to be produced (e.g. the insect’s legs and antennae aren’t a simple constant width line), and it also produced a cleaner cut. I also used a non-rotating drag engraving tool (a spring-loaded scriber) to mark the outlines of the sound holes in the centre of the flowers, before cutting them out by hand with a fretsaw.
Apart from the brass maker’s badges, the external metalwork is all either aluminium or stainless steel (no nickel). I even turned a special set of traditional slotted end bolts in stainless steel:
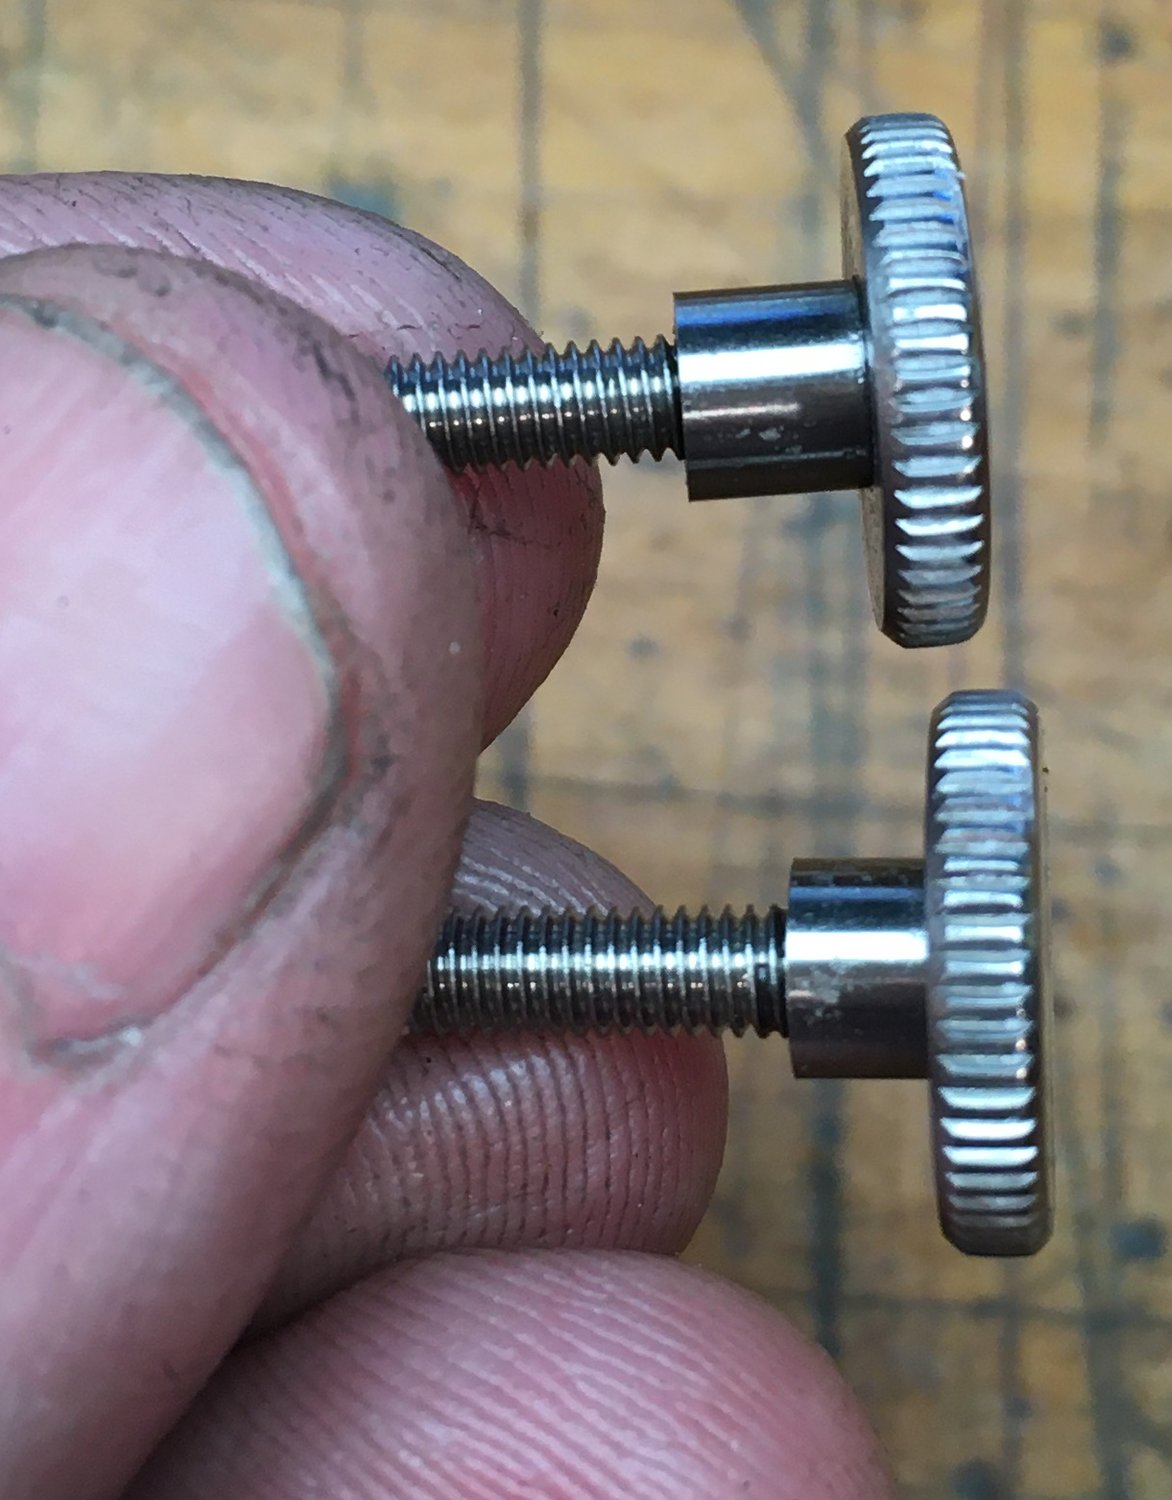
For the strap thumb screws, I started with commercial M3 stainless knurled thumb screws, then I mirror-polished the head and added spacers below the heads so they are easier to grip:
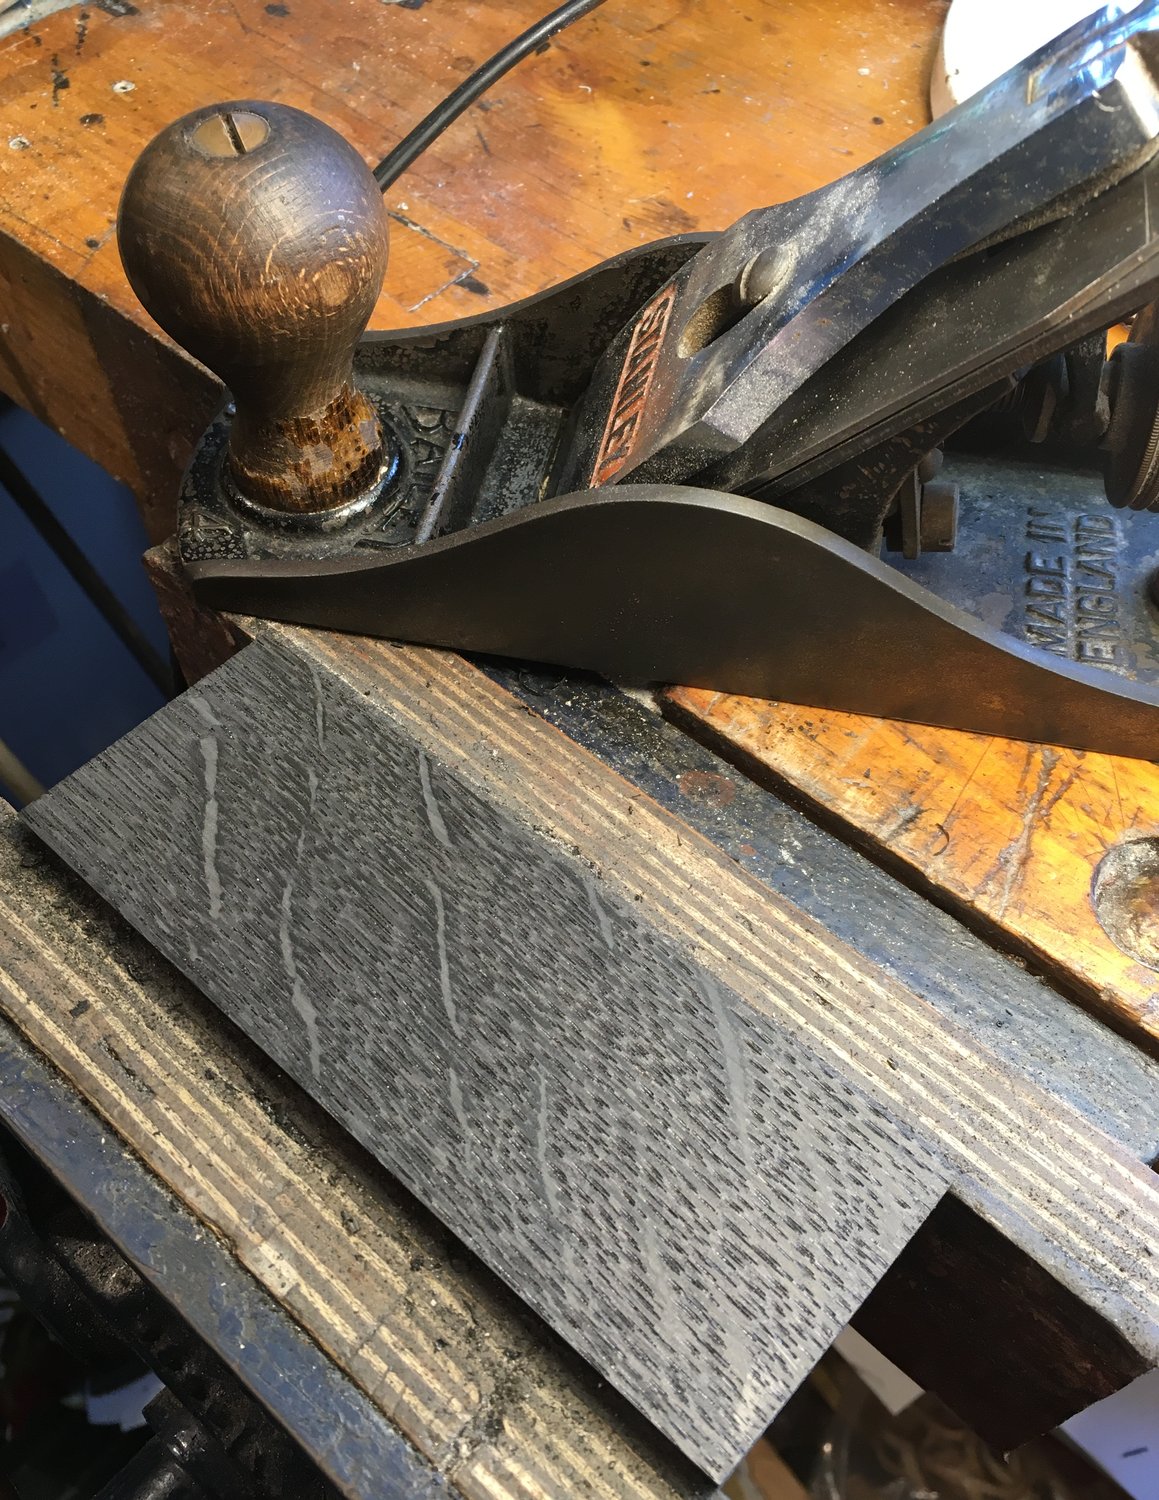
The hand rails and borders were both made from nicely figured black bog-oak.
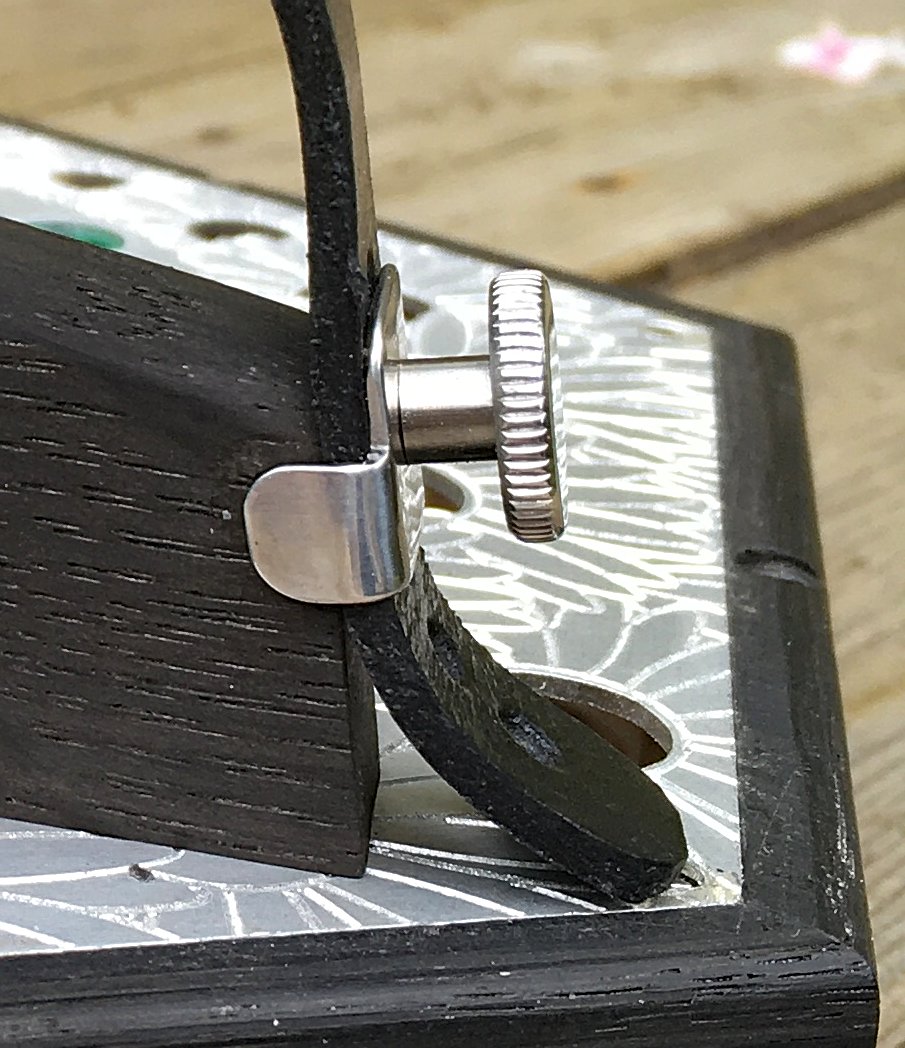
Note also the way the end plates rest on slightly recessed blocks with aluminium captive nuts in the corners so that the metal face sits flush with the border.
The C4/C5 buttons were deliberately made with a concave tip so you can tell by feel where your fingers are on the keyboard:
The action box sides were a bit of an experiment. The idea was to make them totally black, but with a pretty burr figure. There aren’t any natural woods that have both characteristics (as far as I know), so I used a brown walnut burr veneer and stained it black. It sort of worked, but without any colour variation the figure is quite subtle.
I custom-dyed some dark green cloth for the button bushes:
The sound holes were backed with a bright yellow grille cloth intended to suggest the yellow disc of the daisy flower.
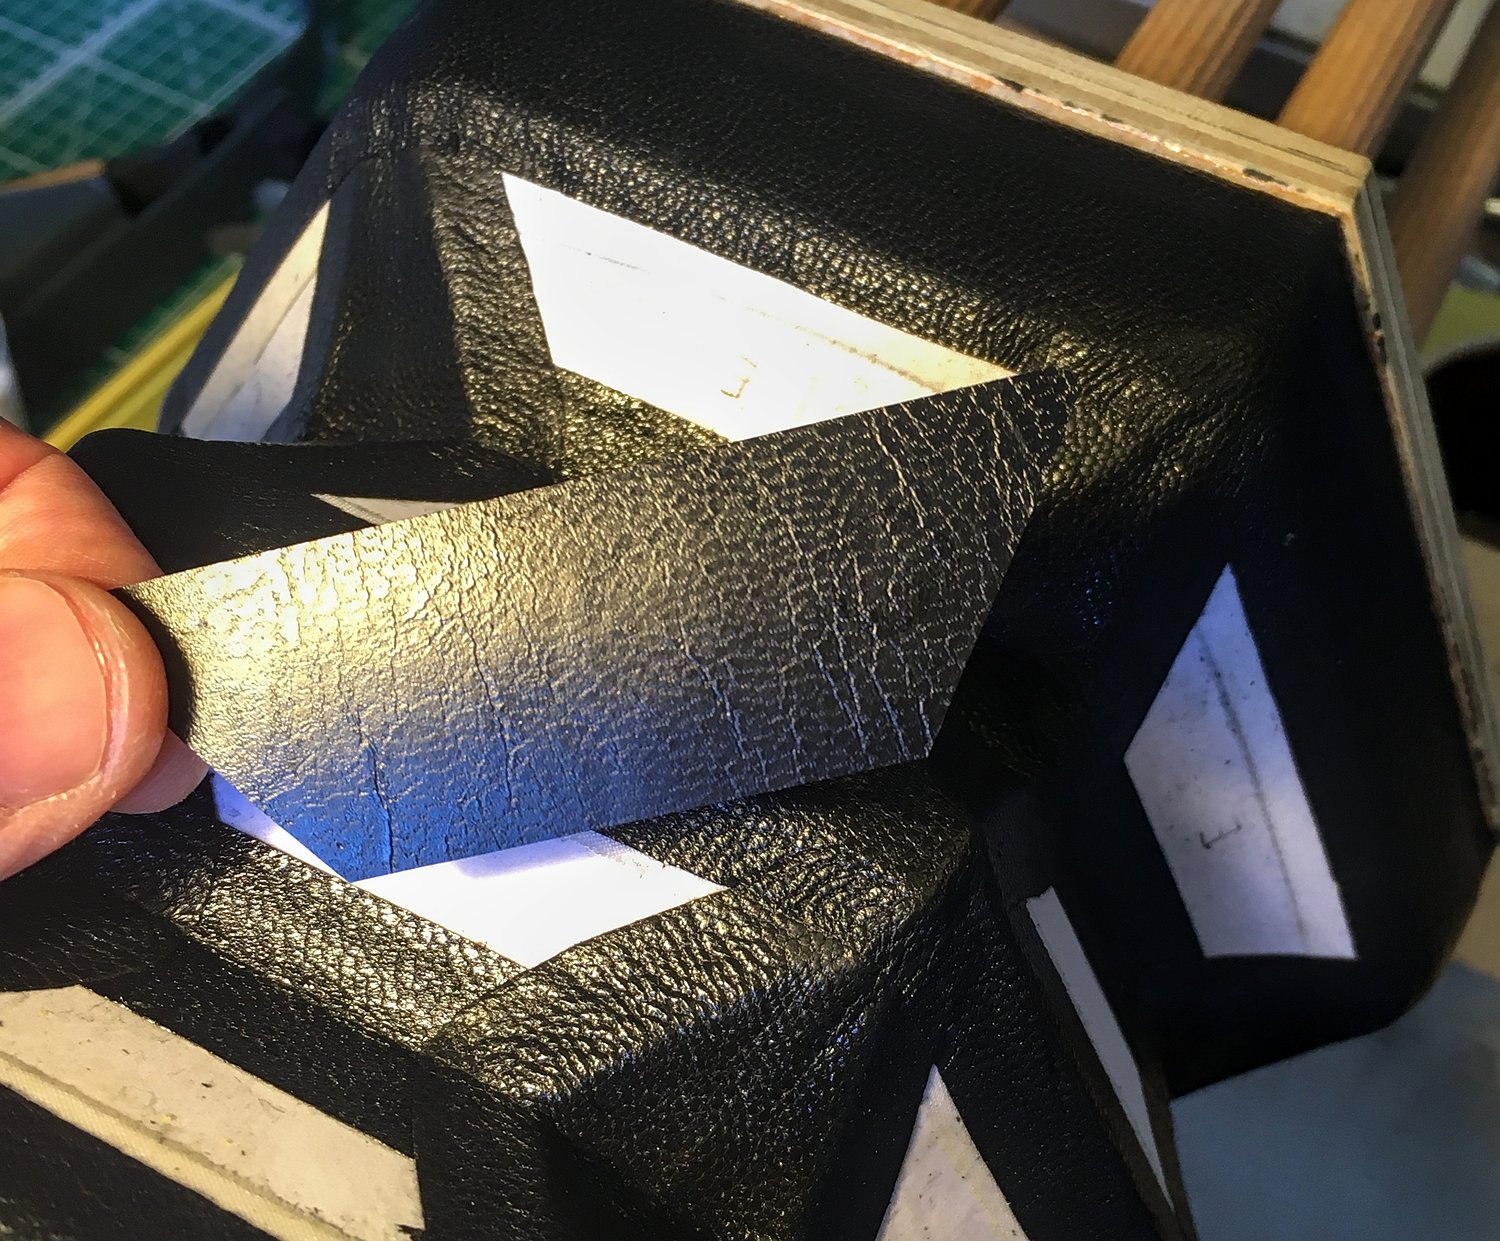
I ran out of the imitation-leather paper I have previously used to cover bellows panels and couldn’t find any more, so I sourced a different type from another manufacturer. The grain pattern is a bit different but I think it looks pretty nice.
Actions
This was a particularly densely-packed instrument, which caused the action to be quite tricky to make, especially on the right hand. Note that the lightweight aluminium action levers look chunkier than the brass levers on my other instruments because I cut them from slightly thicker sheet metal.
For extra rigidity I used two hand rail support posts on each side, with long screws that anchor the hand rails firmly to the action boxes. This means the end plate doesn’t flex when you push and pull on the instrument while playing, as can sometimes happen if there is only a single support post in the middle of the hand rail.
The top sections of the buttons are 5.7mm diameter, but I reduced them to 4.6mm in the lower section inside the action box to give me slightly more clearance for levers and springs to pass between two adjacent buttons.
The zig-zag lever on the right side of this picture was the most awkward one to fit in.
I managed to squeeze in an air release (not strictly an essential feature on a duet concertina) by making it as a simple vertical lever in front of the hand rail that lifts a very narrow rectangular pallet between the pads for the two central chambers. Something else to notice in this picture is I used aluminium rods to support the bushing board rather than the usual wooden posts, because that let me reduce their diameter so they didn’t take up as much space between the buttons.
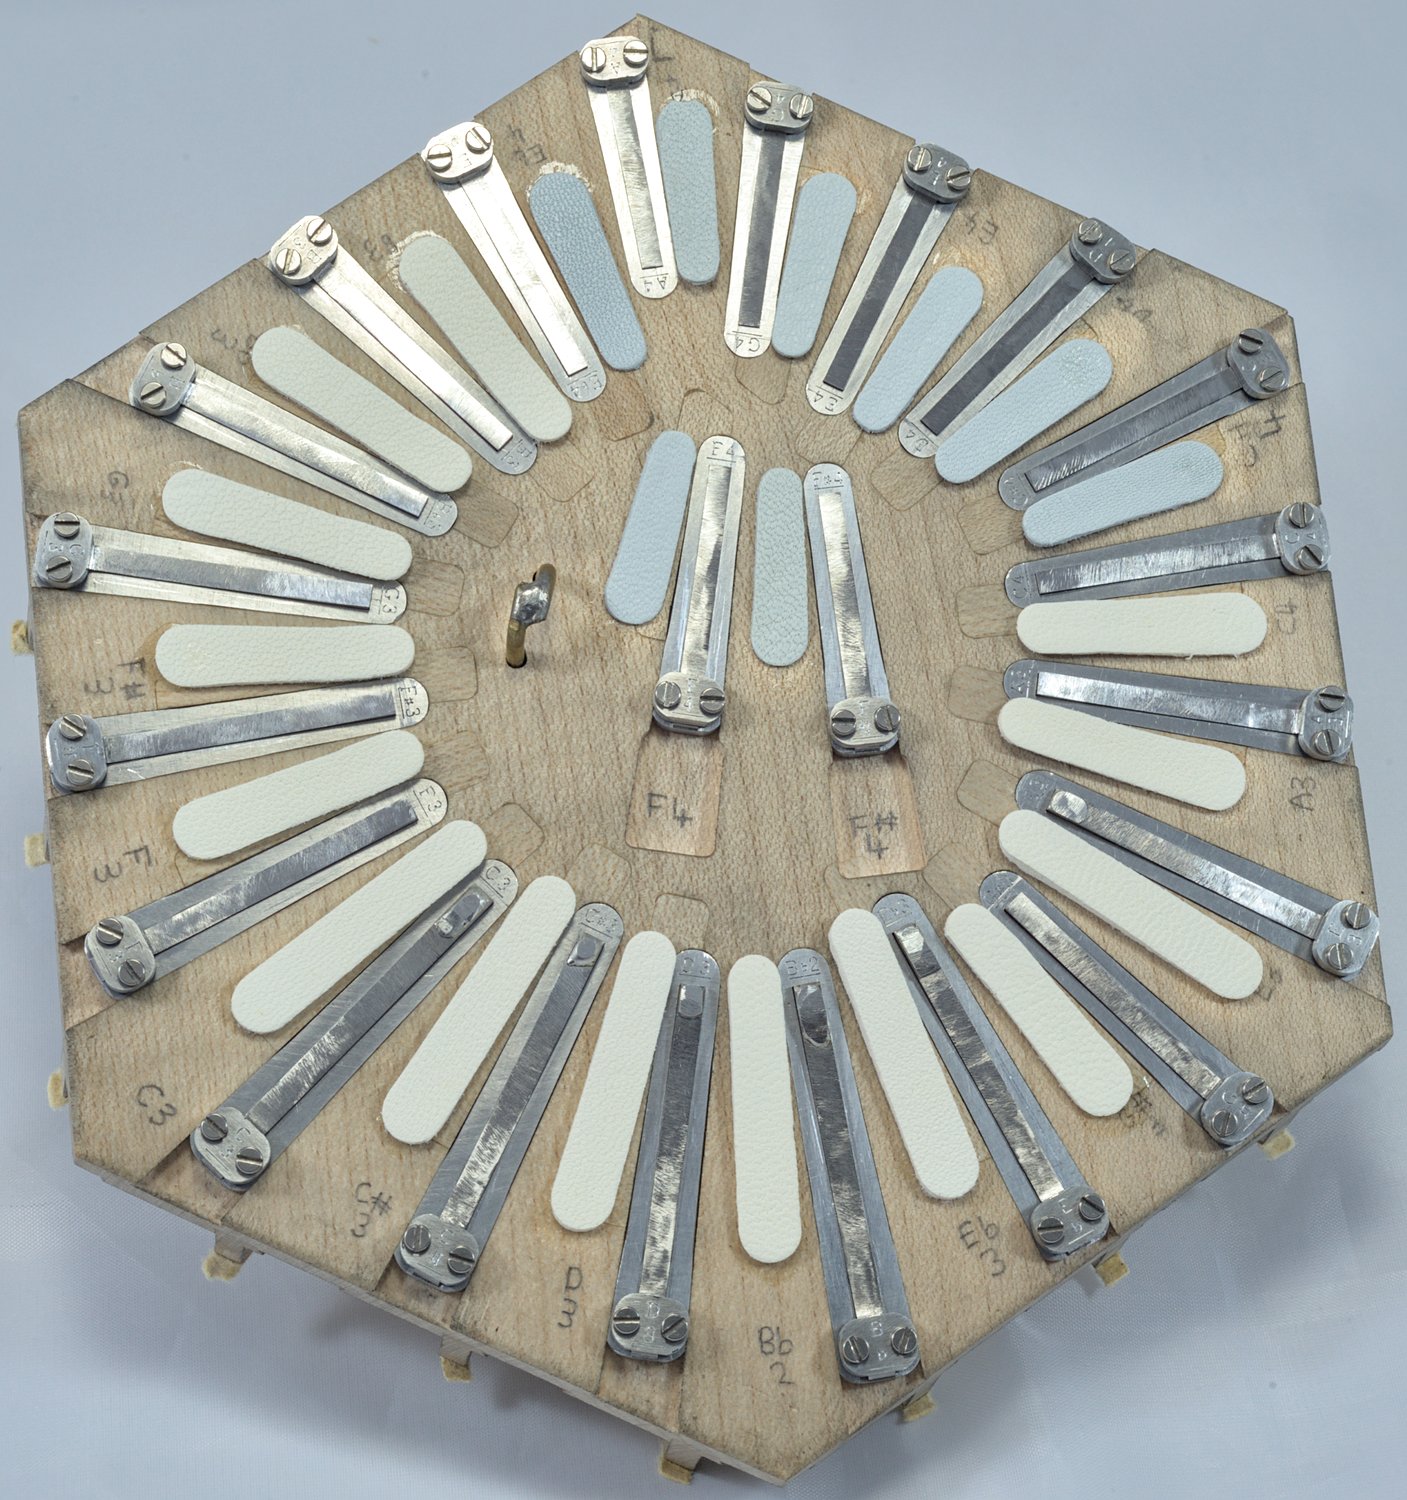
Reed Pans
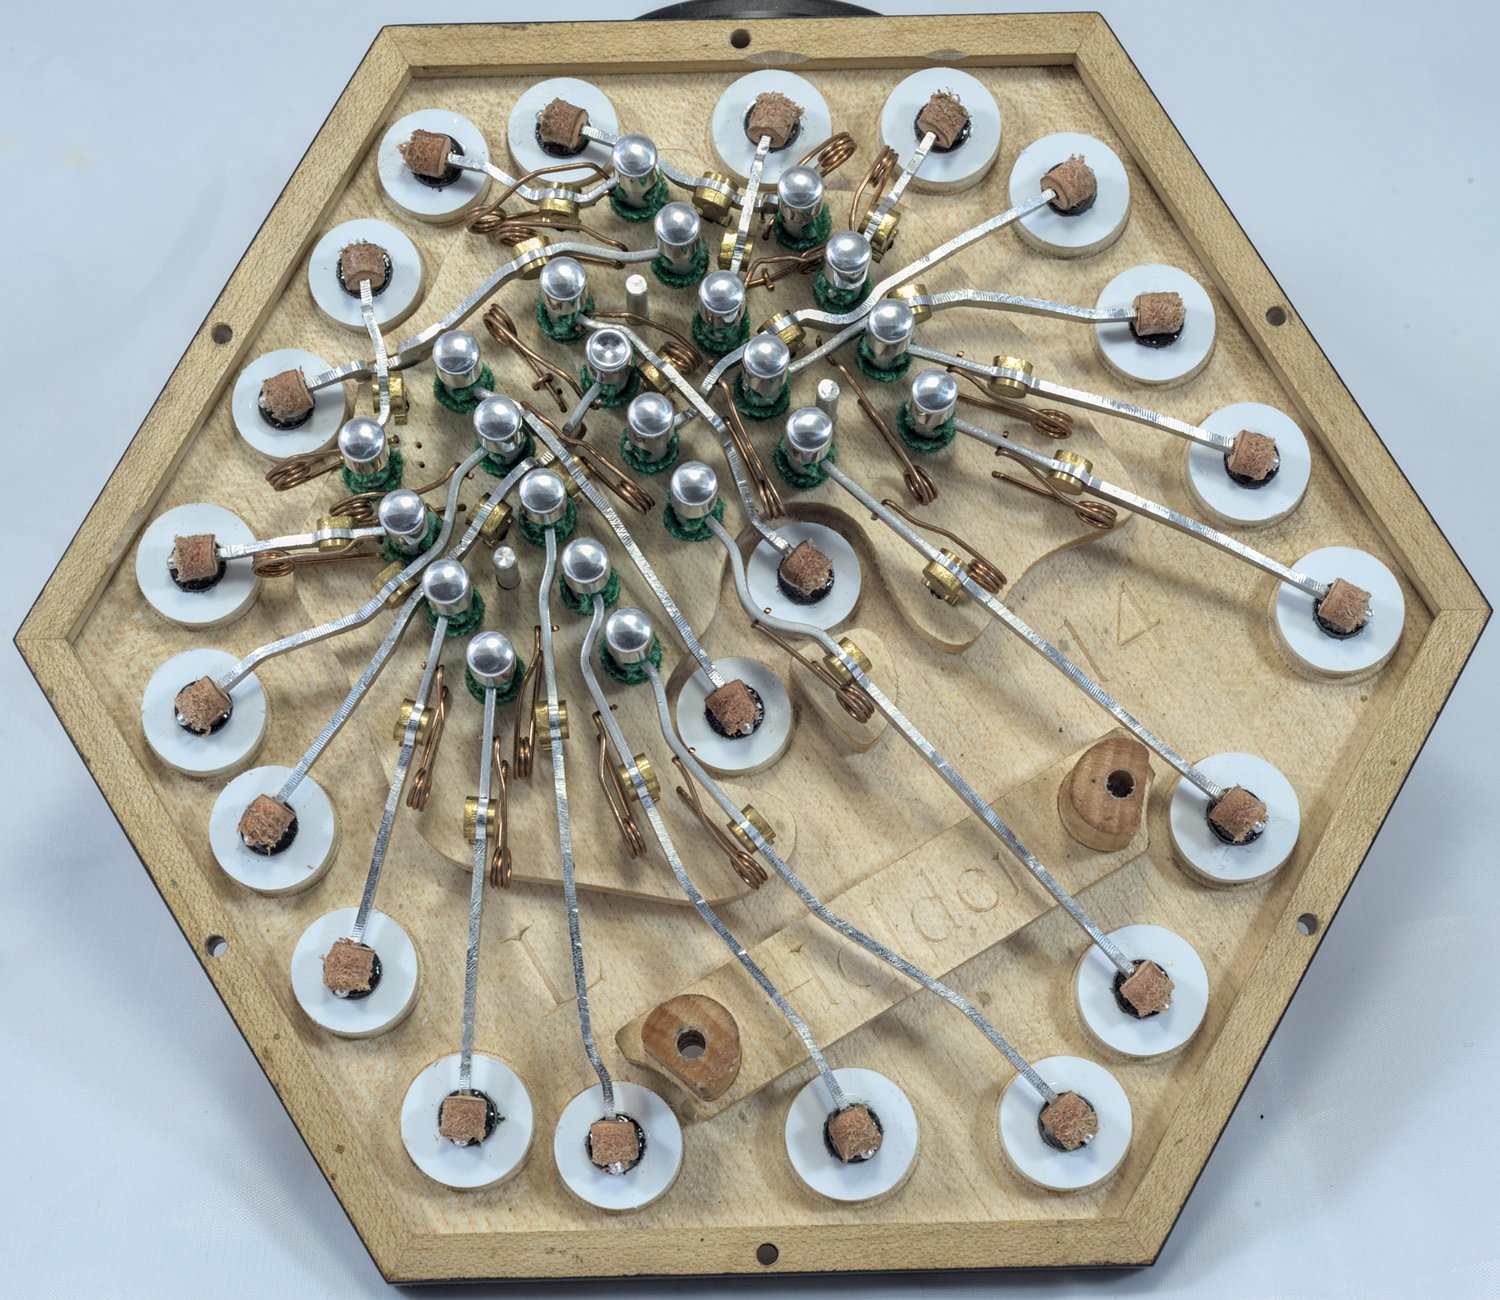
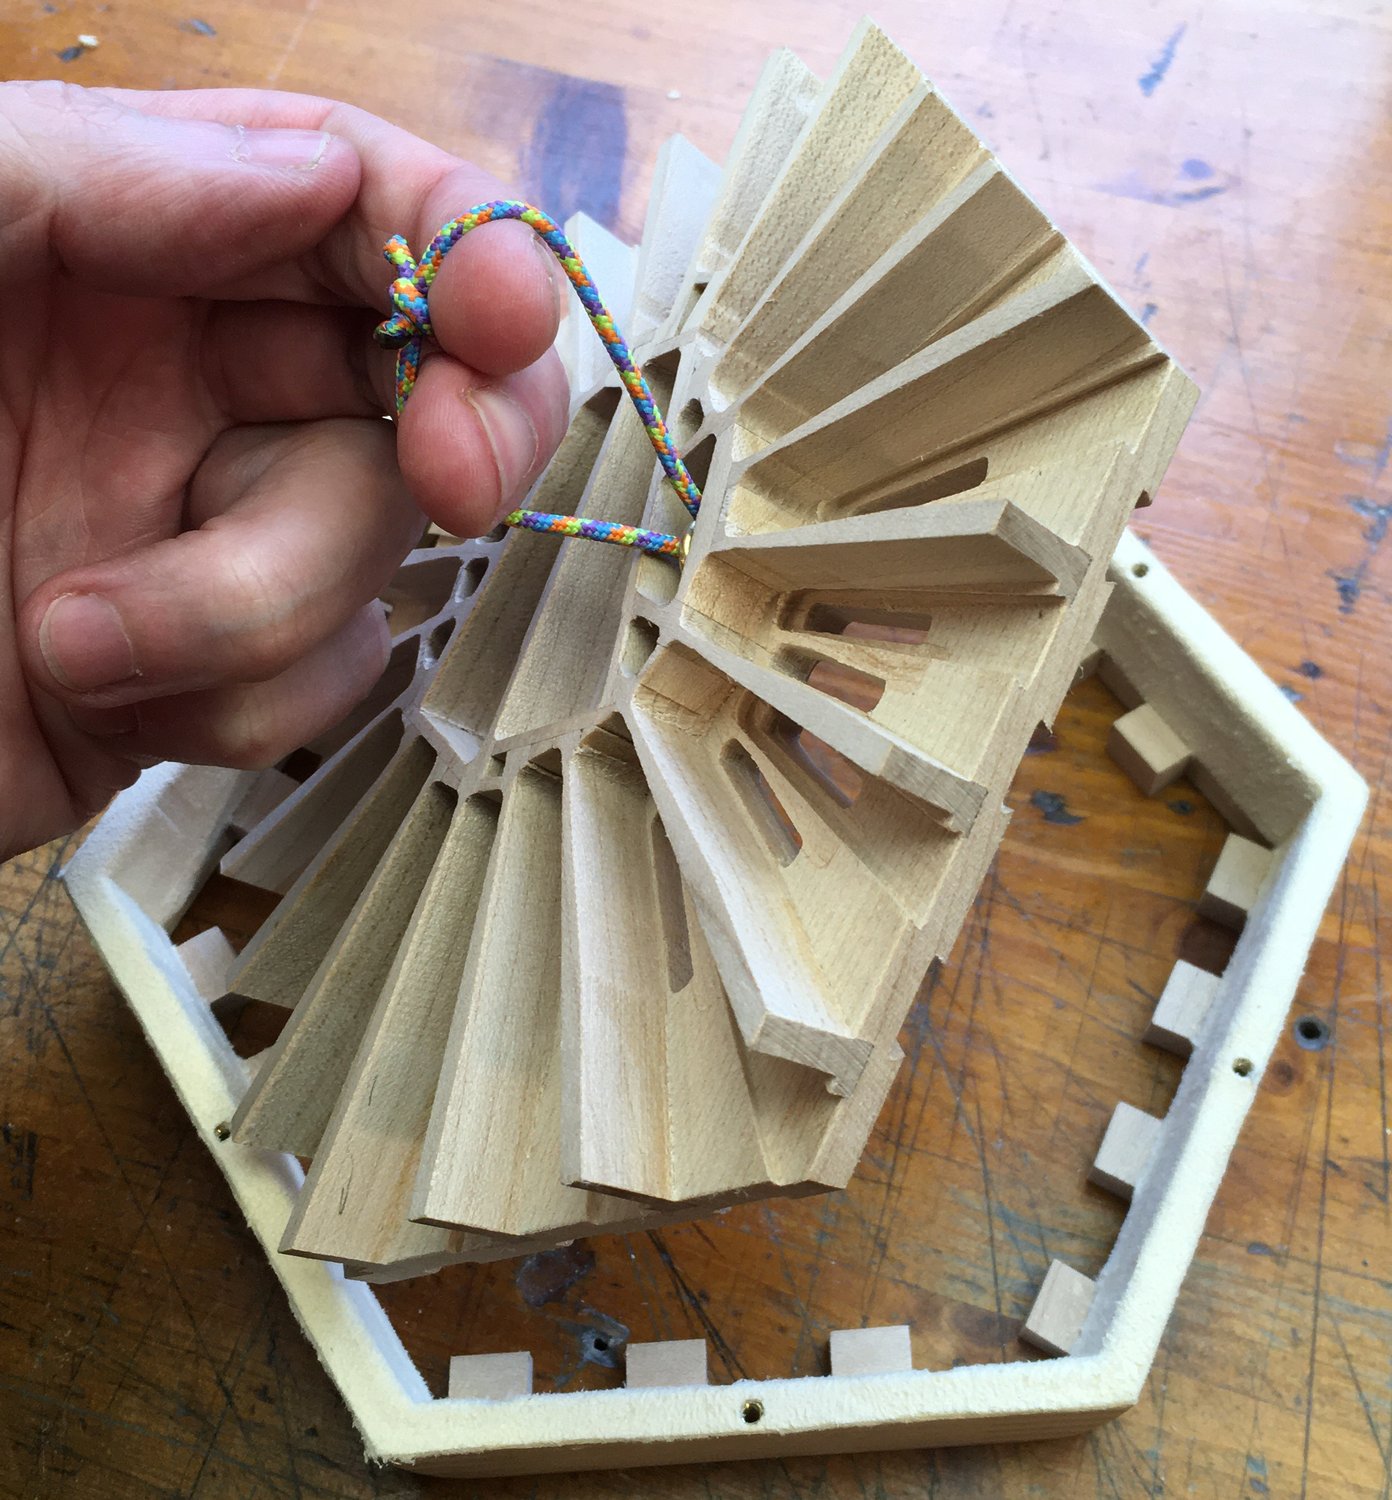
The left hand reed pan is probably the most densely-packed reed pan I have designed so far. I had to make some slight design compromises to fit in so many low notes in such a small instrument, but it is still decently responsive and loud.
The rainbow-coloured paracord packed into a tiny chamber is a loop used to pull the reed pan out of the bellows frame because there wasn’t any space for a thumb hole.
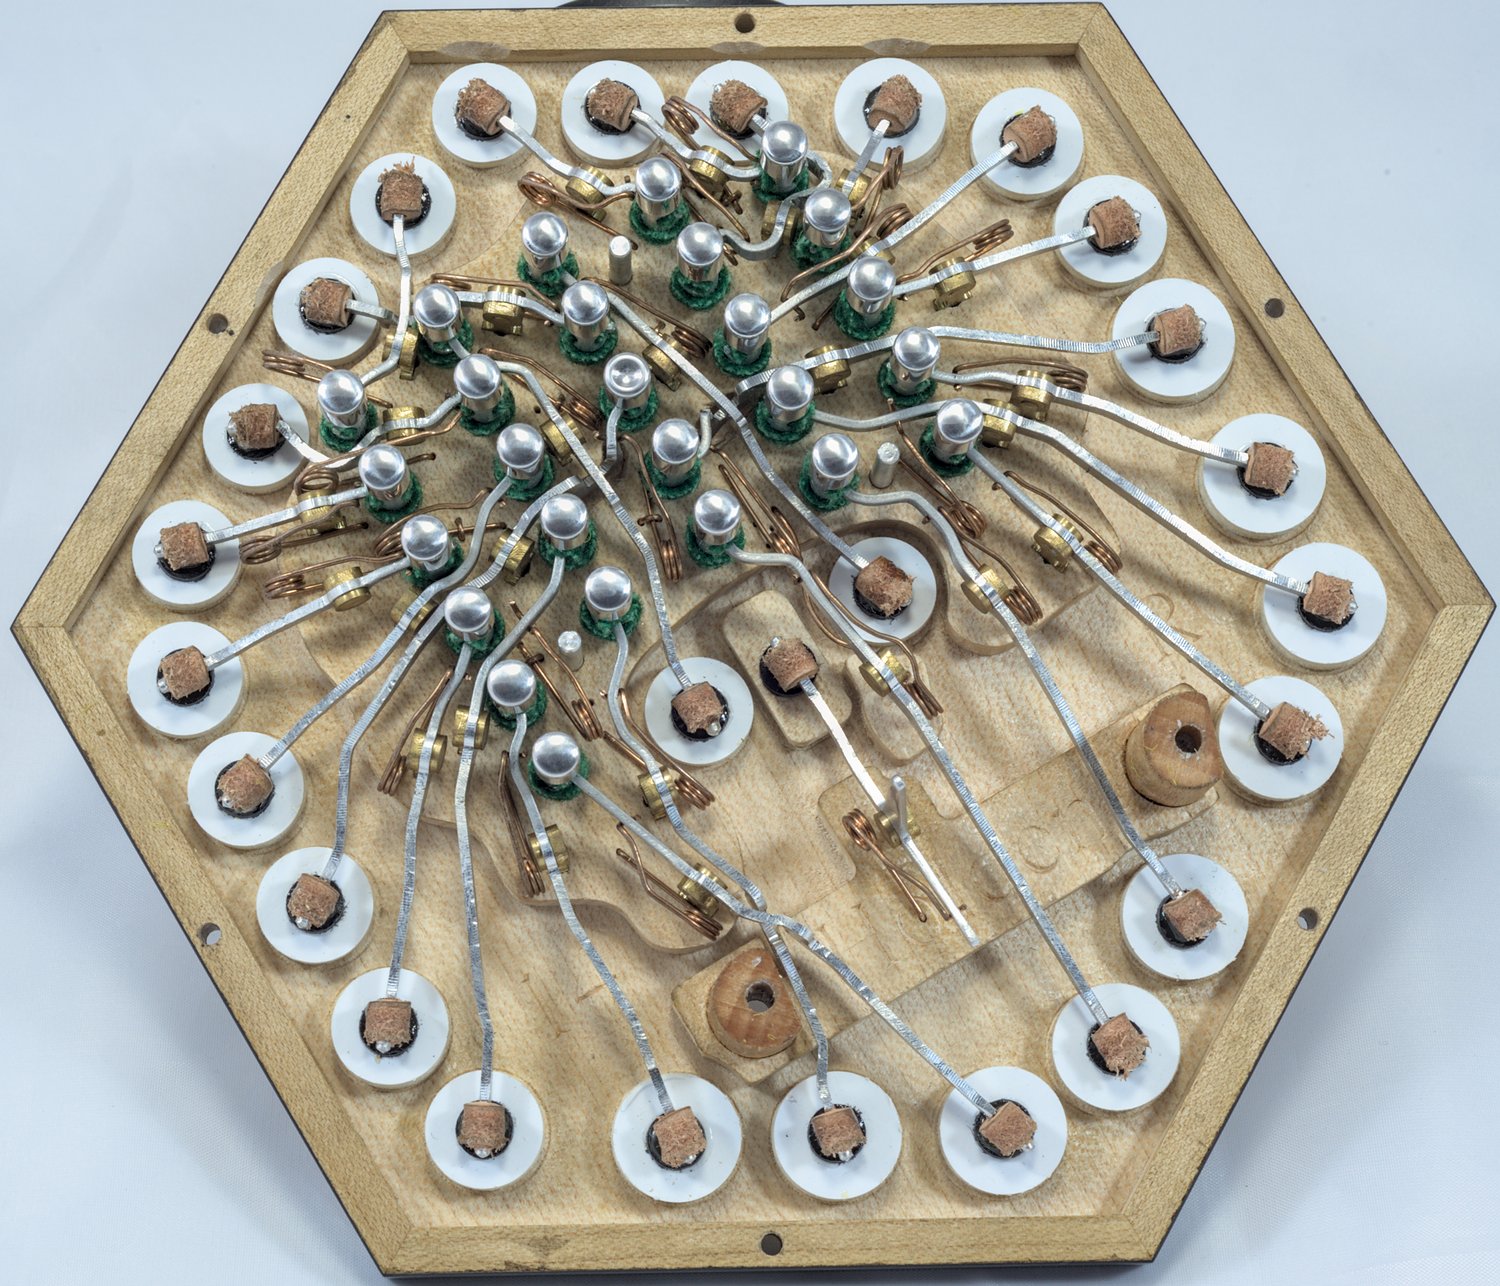
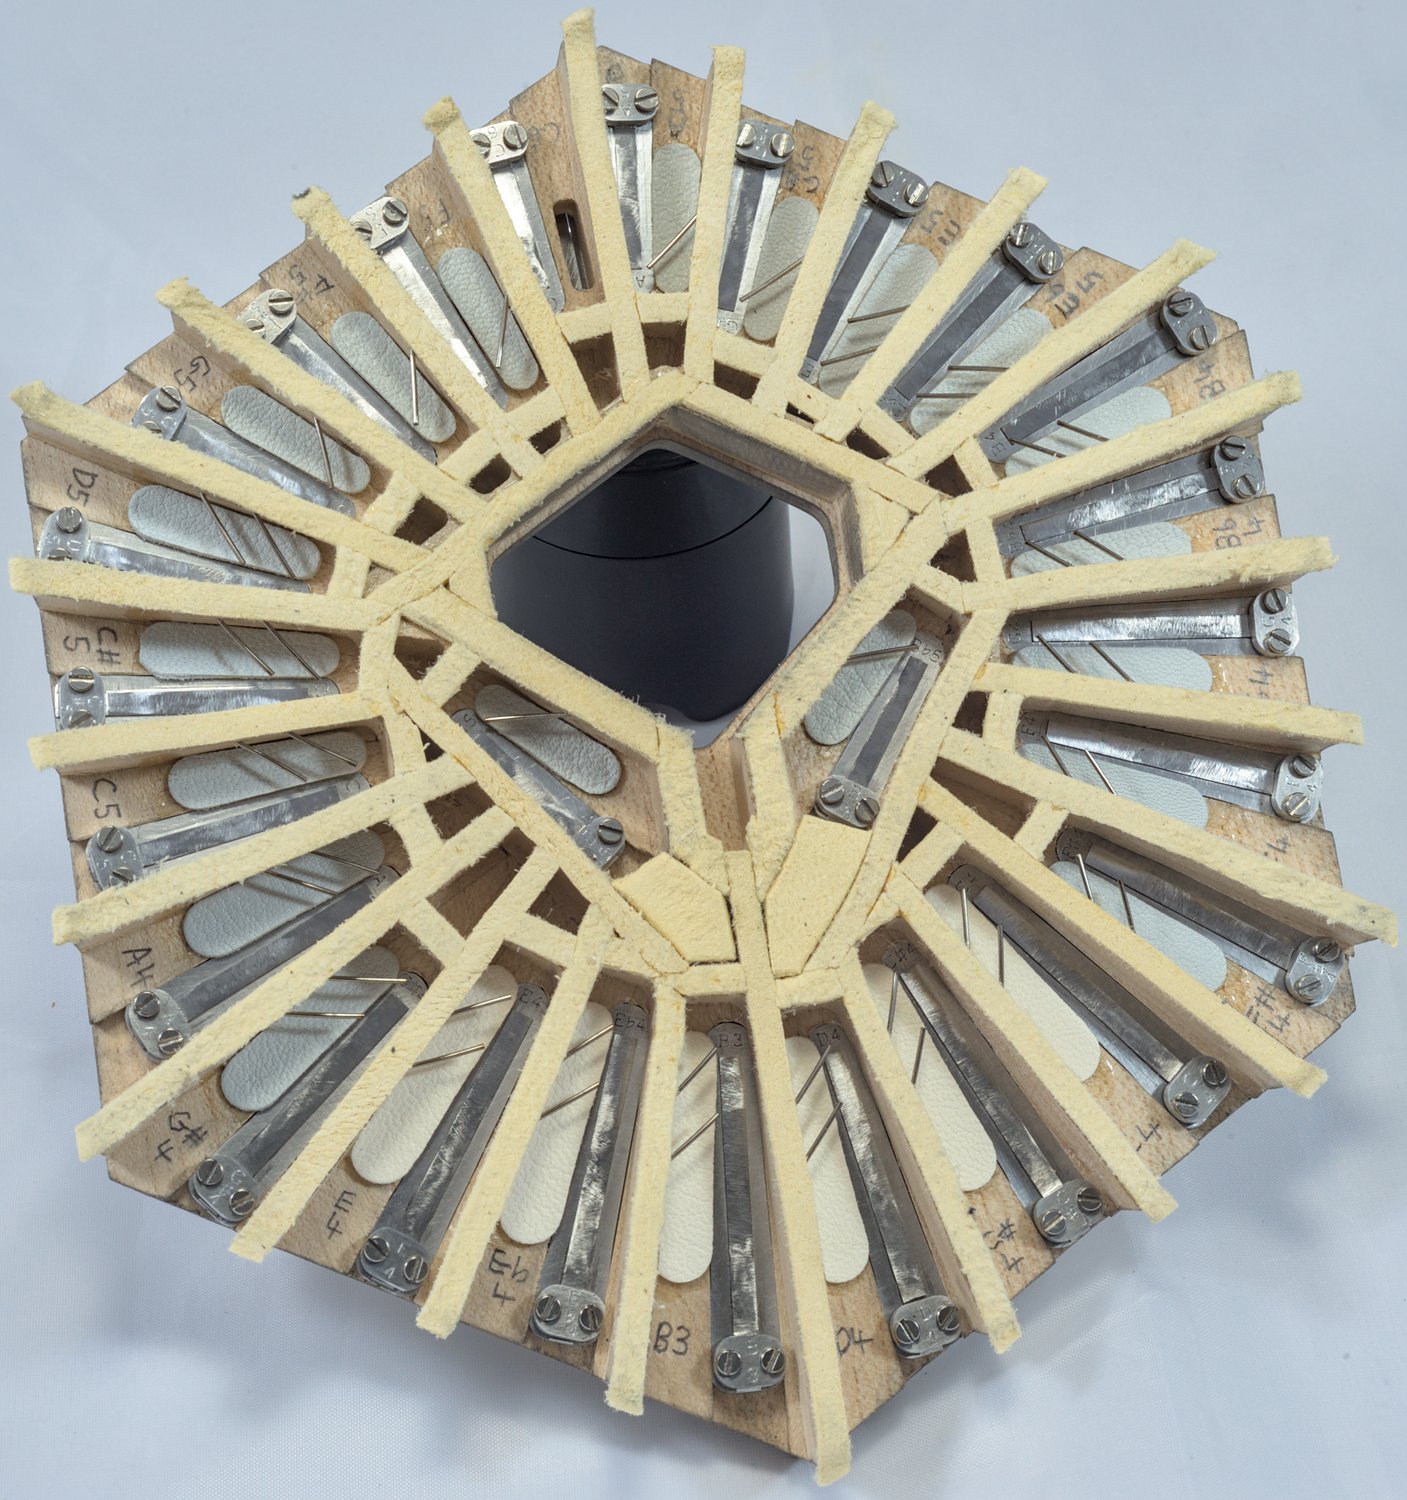
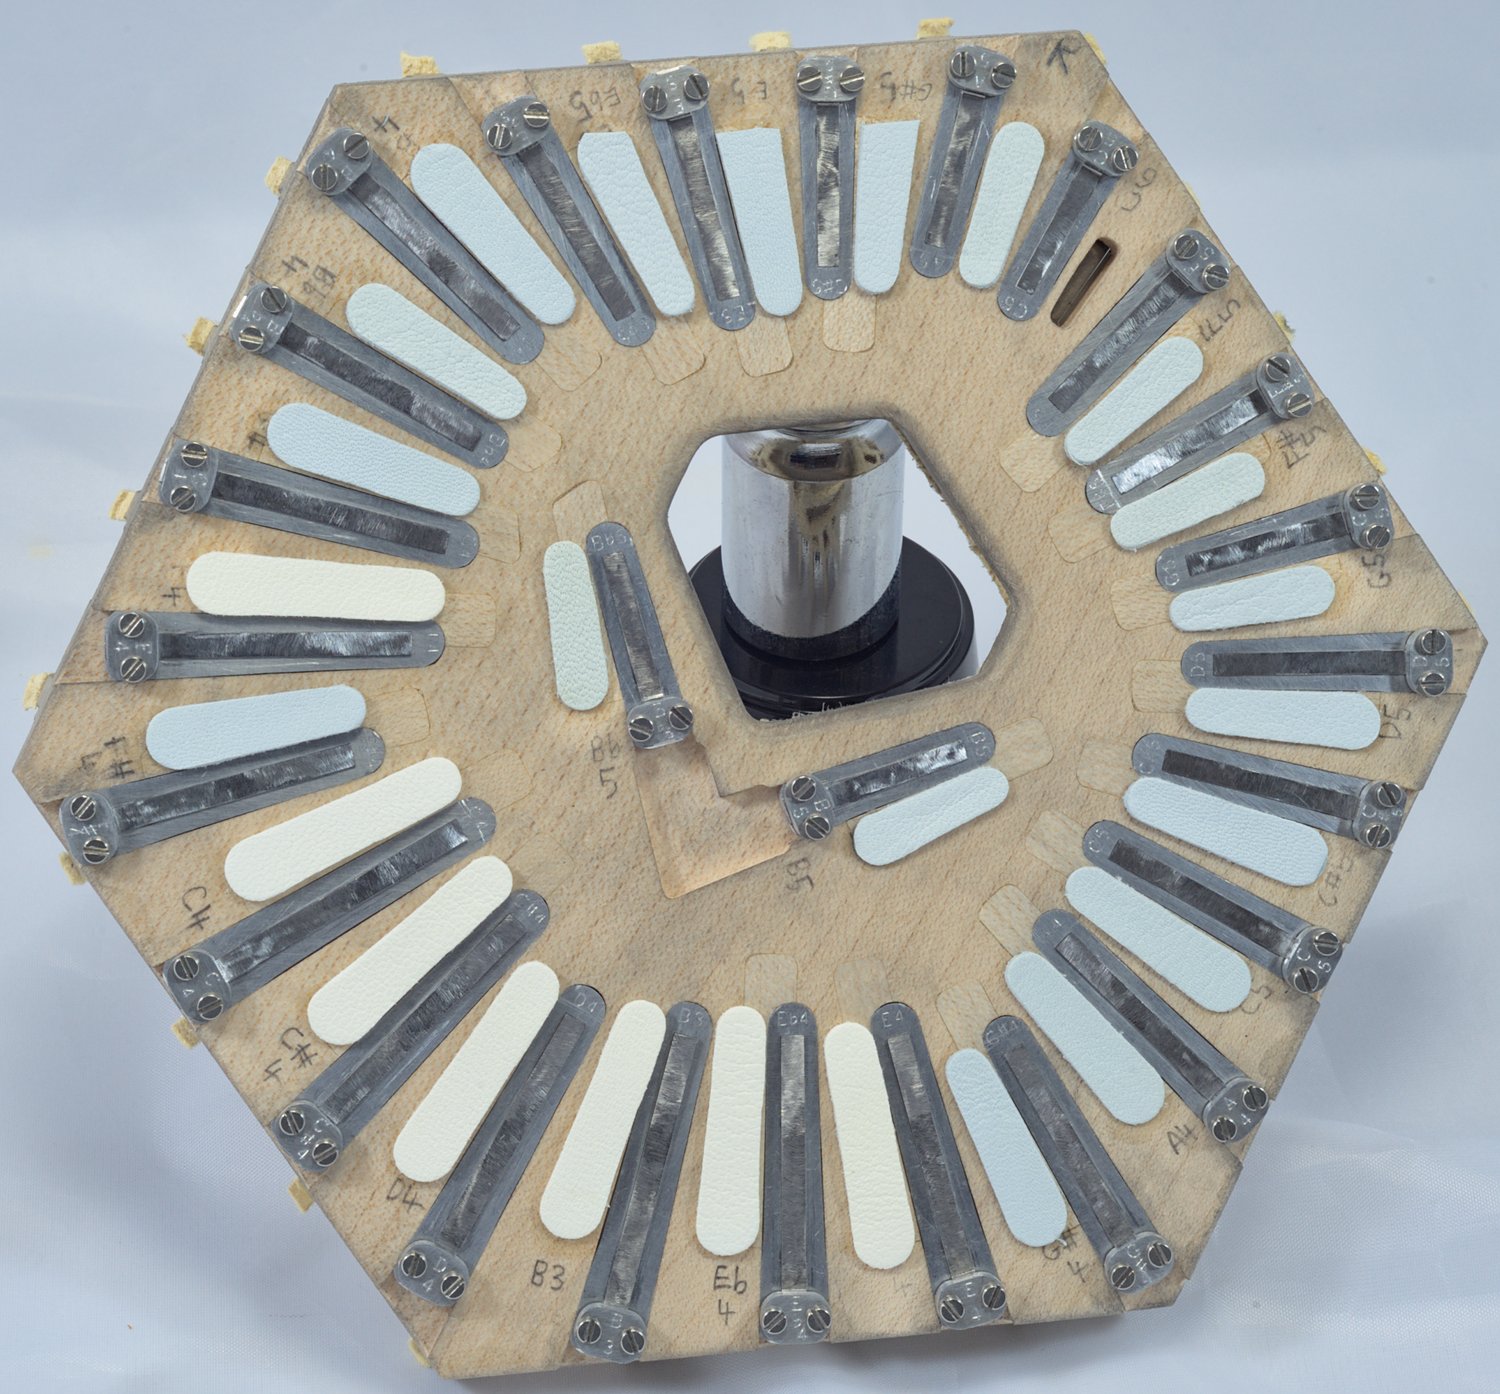
The right hand pan is only slightly less densely packed than the left. The strange Y-shaped wall arrangement in the centre forms an open-ended chamber that provides the air path for the air release lever. The two centre reed chambers each have a small removable wooden block that, when removed, allows space for the reed frame to be slid back and lifted out. I have actually seen a few antique instruments (particularly higher button-count Jeffries concertinas) where the last few chamber walls must have been glued in place after the top inner reeds had been inserted, and no provision was made for them to be removed for tuning or maintenance, short of ungluing the walls! I found that adding the two blocks slightly improved the tone of these chambers, but I wasn’t able to hear a significant difference when I tried adding similar ones to the left hand inner chambers so I left them out.
On the bottom side you can see how the dovetail slots were lengthened sufficiently to allow the inner reed frames to be slid back and removed.
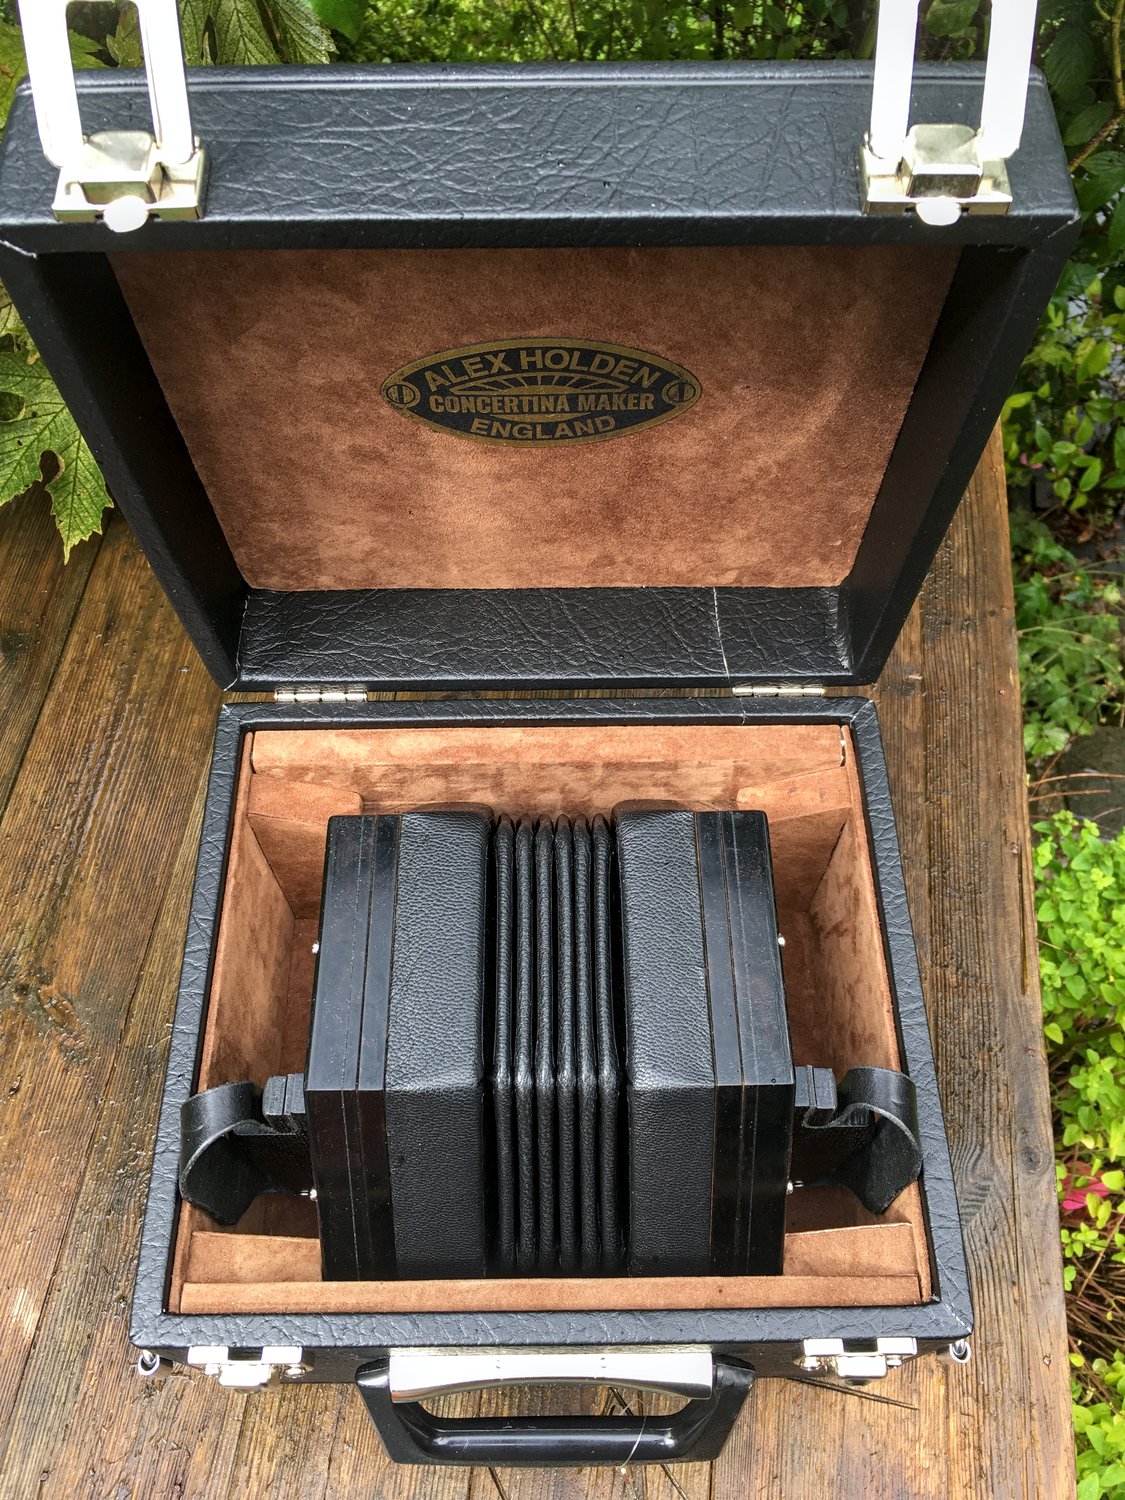
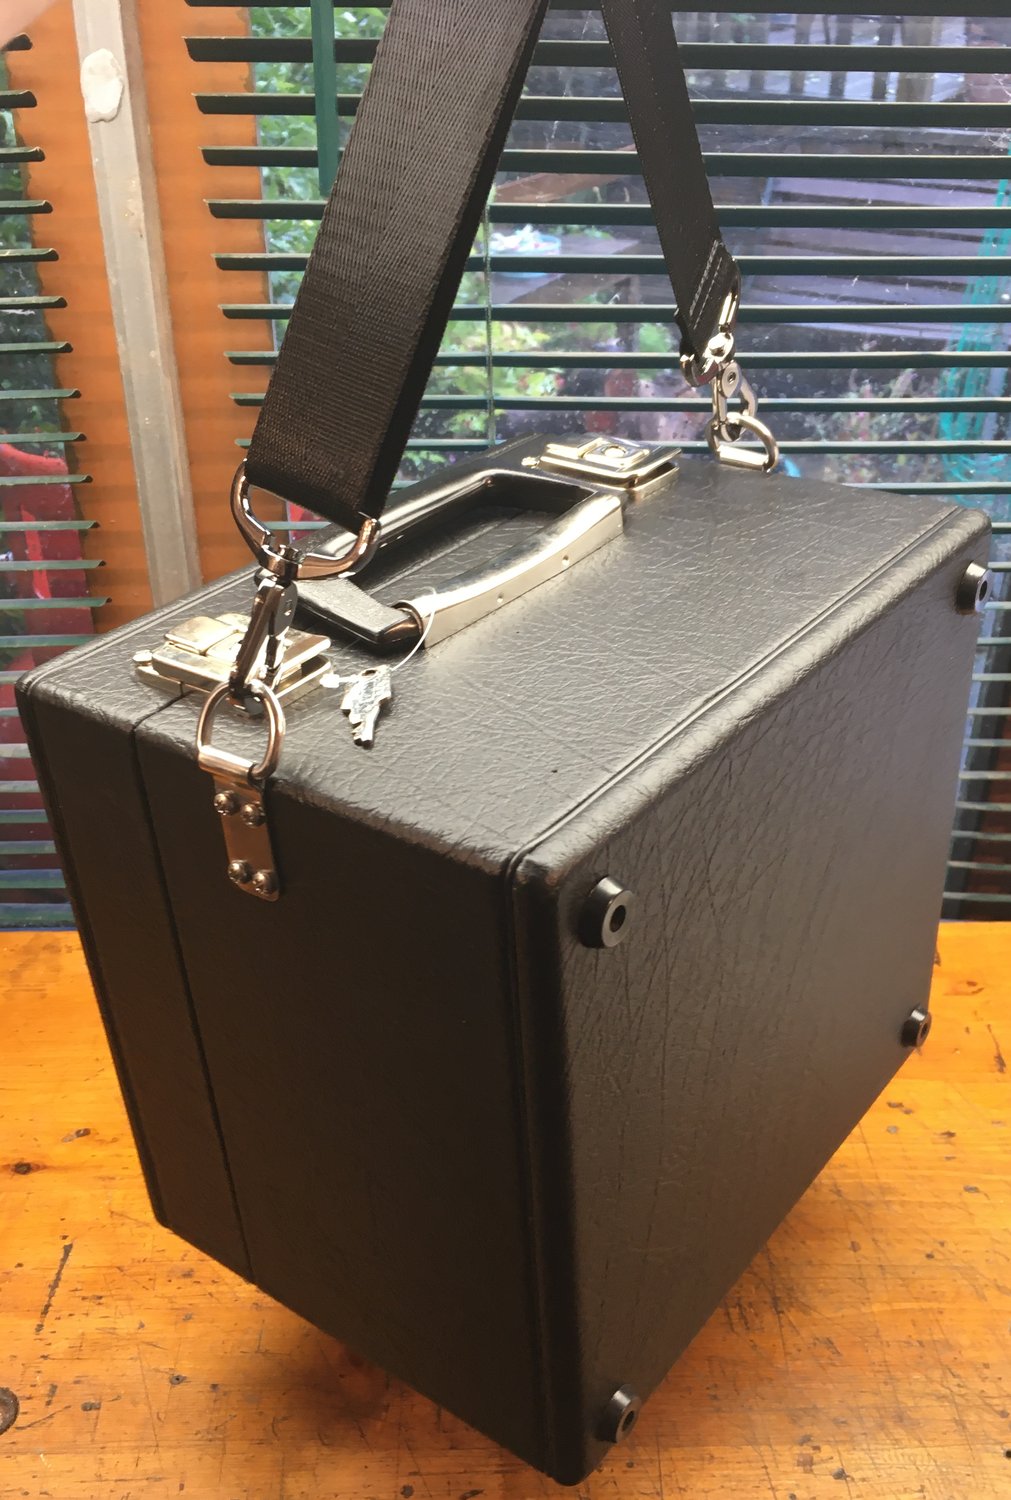
Case
I supplied one of my standard Italian hard cases, modified slightly to add a pair of D rings for a shoulder carrying strap. I also added four extra rubber feet so it can sit properly on either the bottom or the hinge side.
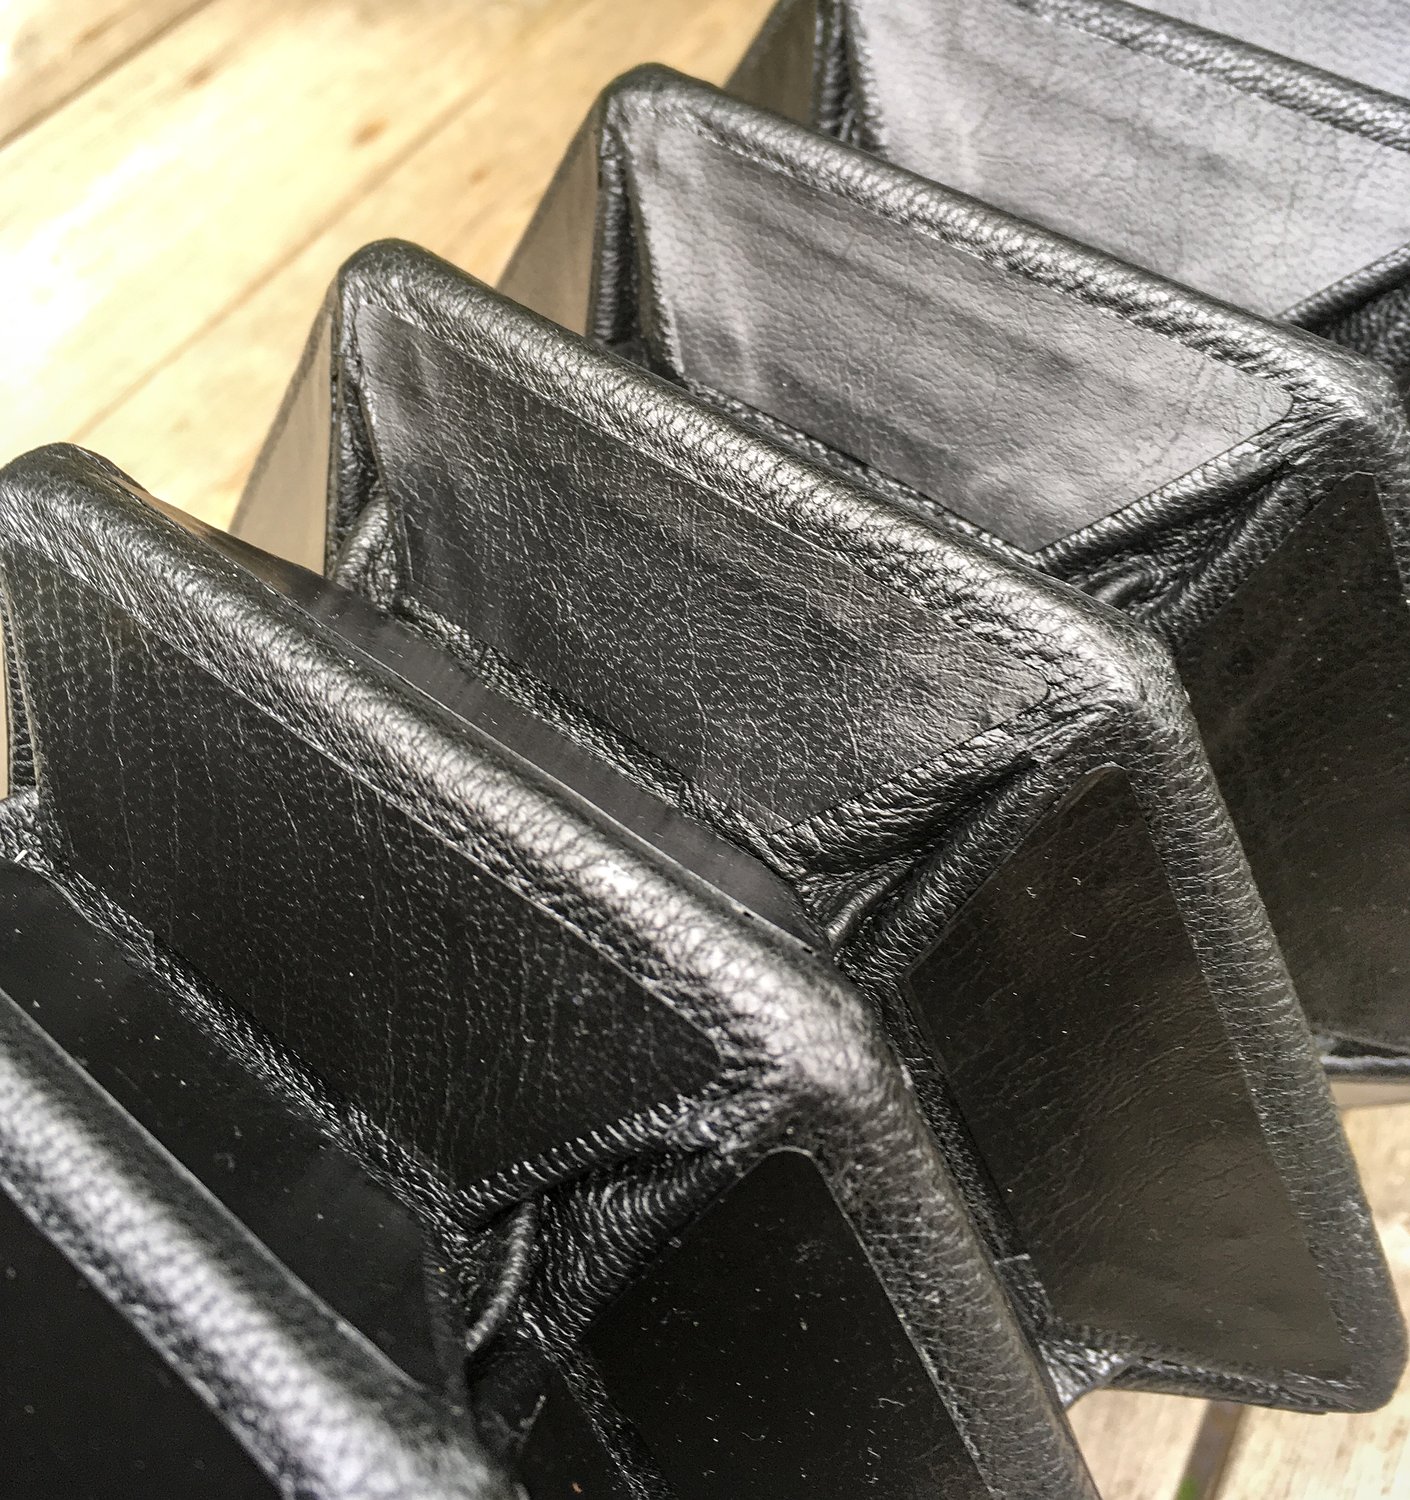
I also added a custom-fit suede lining with foam padding and cork corner blocks: